|
|
Removing Flywheel
Tools Needed: 41mm (1&5/8") six point socket, 5/8" socket, breaker bar for socket, wood chisel, Tommy bar, hammer, 19 X 22mm open end wrench, and a puller.
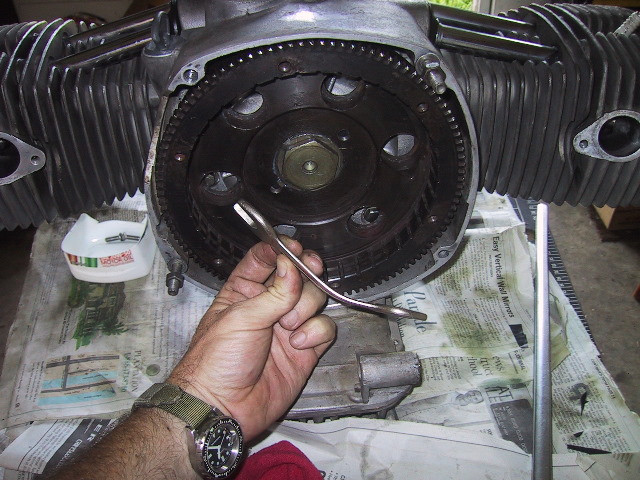
 Bend down the lock tab on the flywheel bolt using the wood chisel, Tommy bar and hammer. |
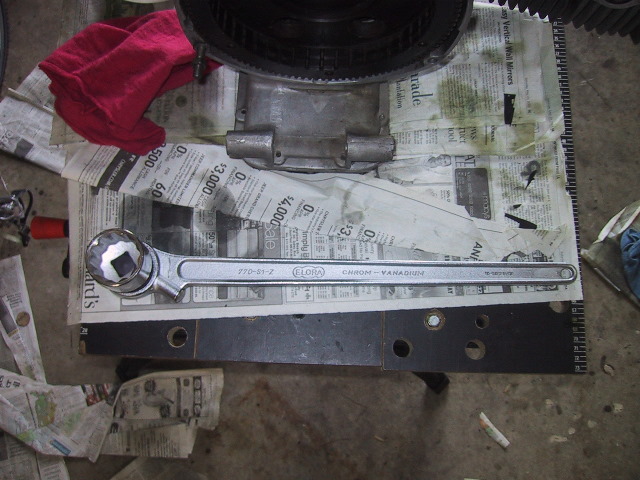 For my "breaker bar" I use a large 3/4" drive ratchet wrench. |
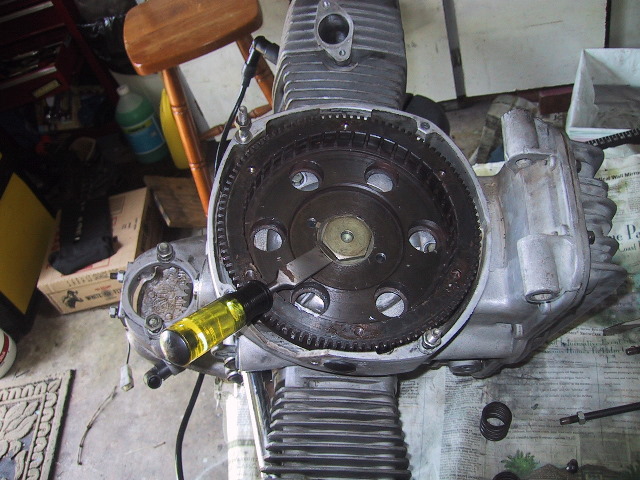
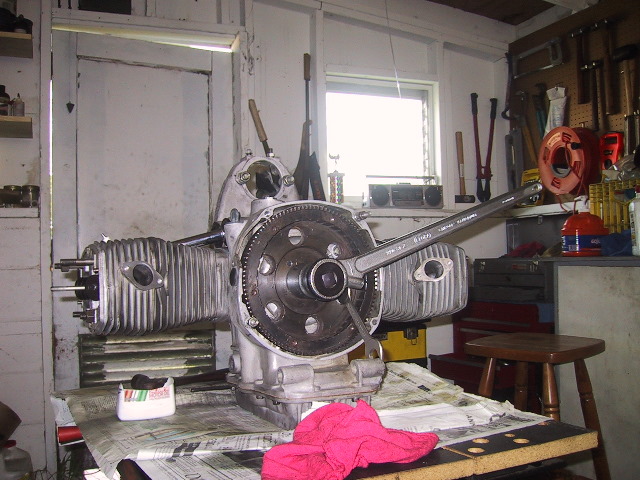 Place the 19 X 22mm wrench on the LEFT side so the 19 end is in a lightning hole of the flywheel while the 22mm end is over the engine mounting bolt boss. This locks the flywheel so you can turn the flywheel nut off with the breaker bar and socket. |
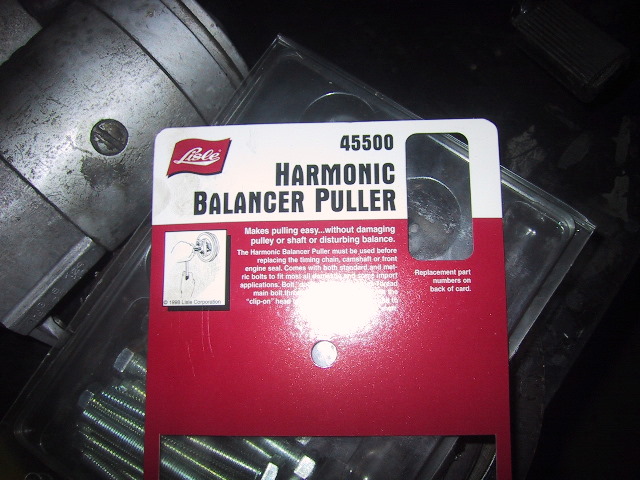 I use a "Lisle" #45500 Harmonic Puller to pull the flywheel. Any similar puller will work. |
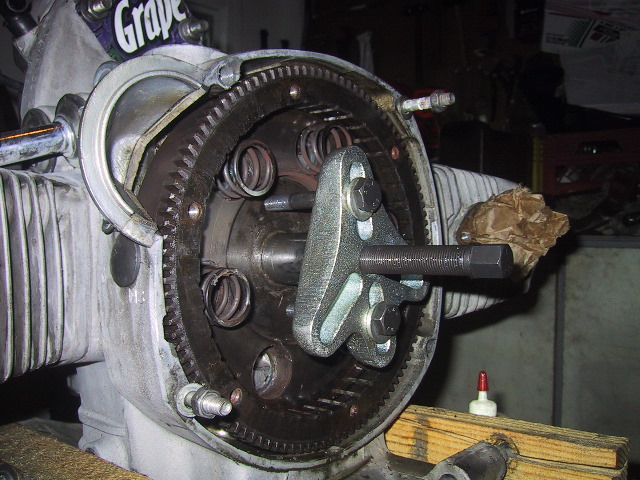 Place the 5/8" socket over the exposed end of the crank, mount the puller to the flywheel via the two bolt holes...
|
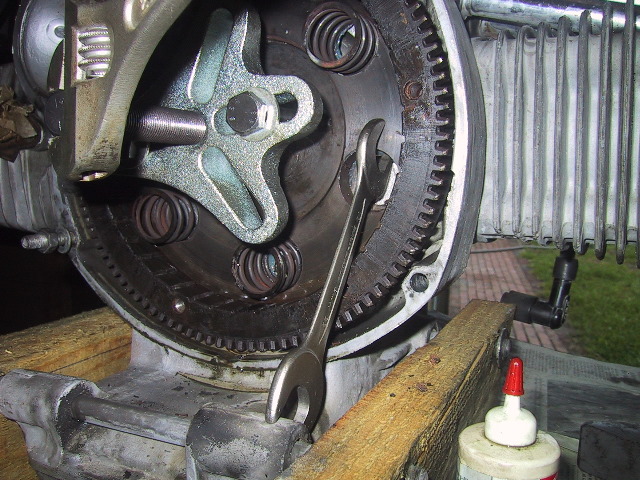 ...place the 19 X 22mm wrench on the LEFT side and turn the puller screw to dismount the flywheel. It will come off with a pop. |
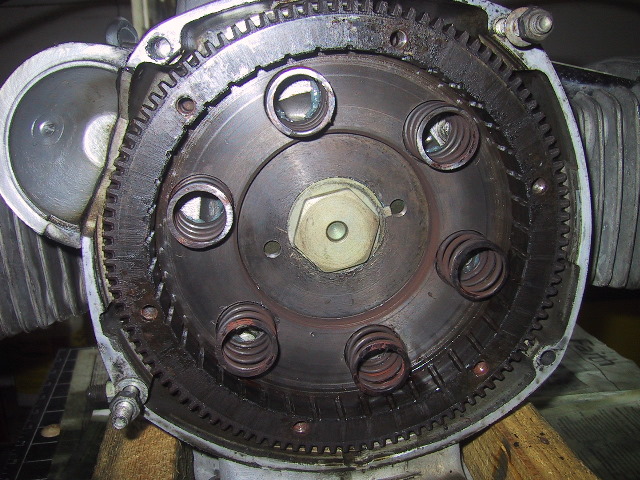
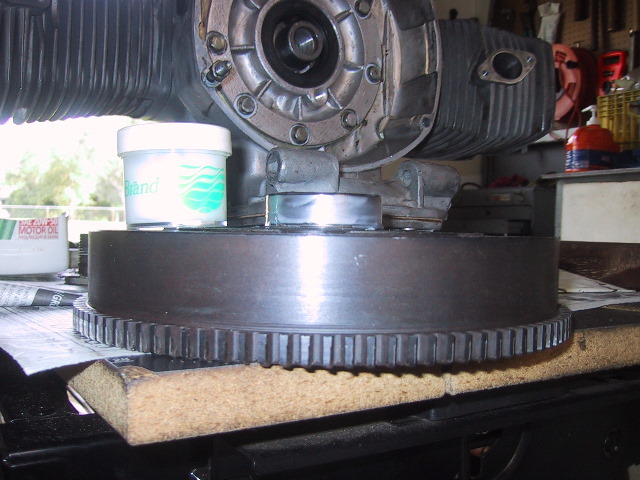
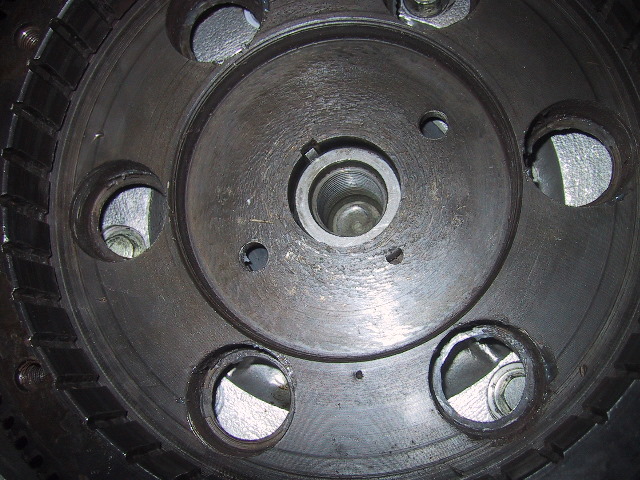
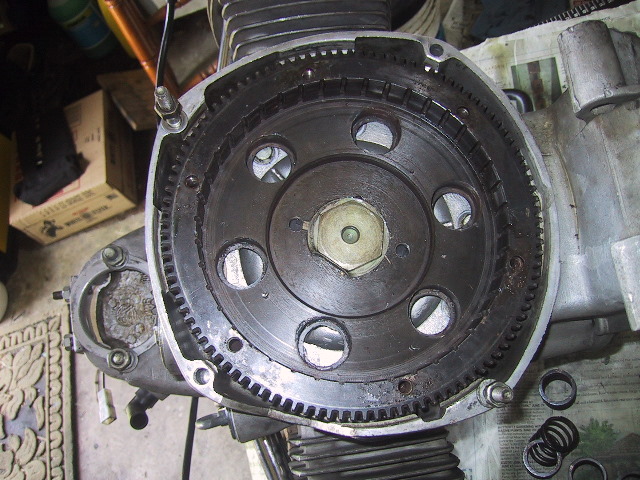
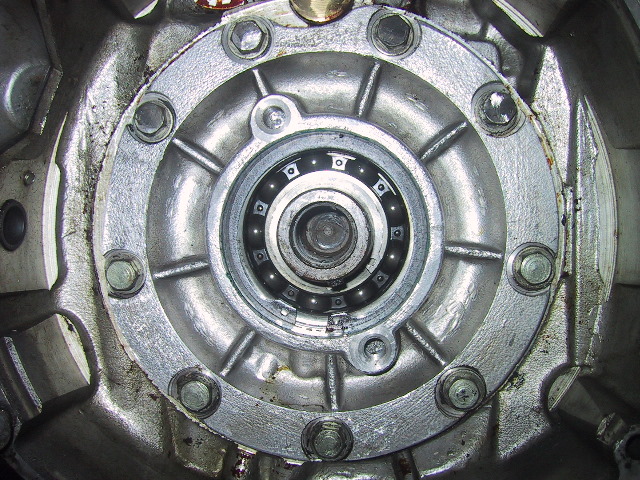 With the flywheel removed you are now looking at the Rear Main bearing and bearing plate. In this picture the Rear Main seal has been removed. |
Installing Flywheel
Tools Needed: 41mm (1&5/8") six point socket, breaker bar for socket, 19 X 22mm open end wrench, wood chisel, Tommy bar, hammer, RTV sealant and LocTite
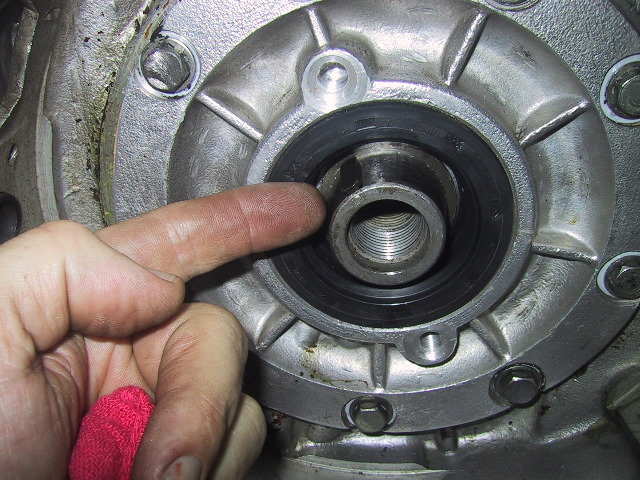
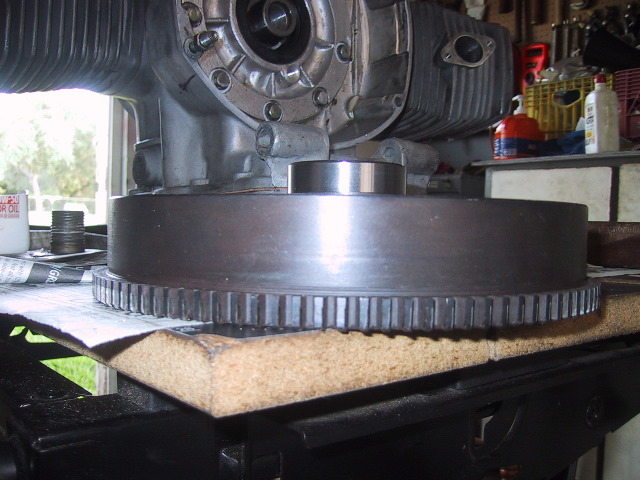 Before installing the flywheel it is a good idea to have the area where the inner lip of the seal rides polished free of any burrs. |
 I put some silicone grease on the flywheel to keep the seal lip greased and reduce wear. |
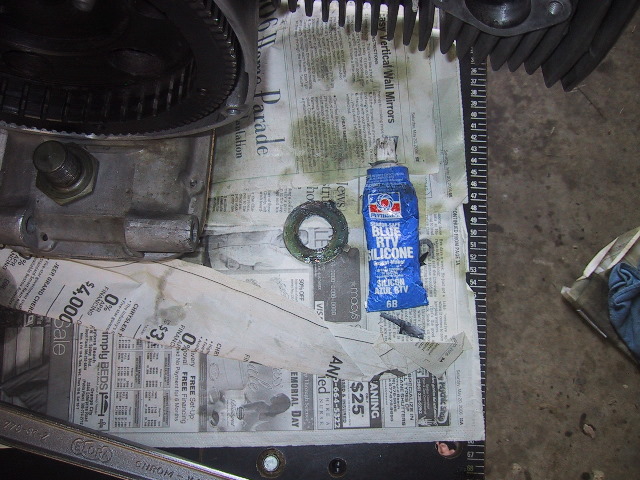 I coat the back of the flywheel washer with RTV just to prevent any oil from seeping between the crank and flywheel. I am being anal in this instance. |
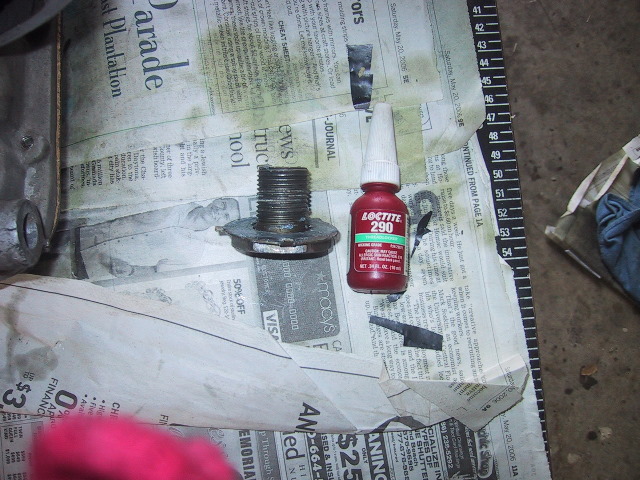 A little dab of LocTite on the flywheel bolt. It is recommend that you use a new flywheel bolt and not reuse the old one. I've reused them many times over with no trouble as of yet. |
 When you put the flywheel on, make sure you align the keyways up. |
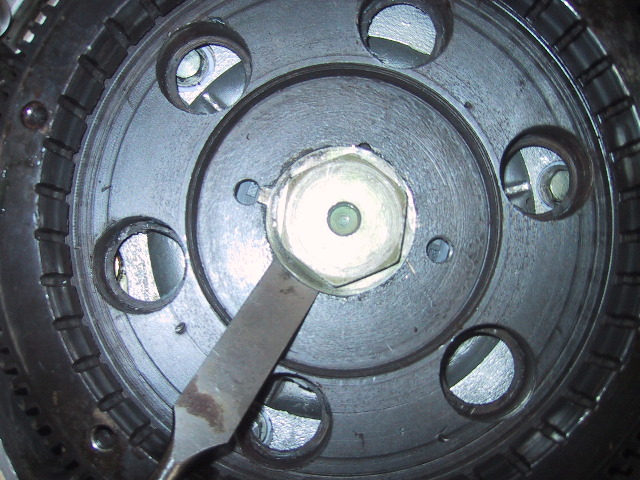
 I tap the flywheel key 3/4 the way into the flywheel and then slip it on to the crank end. You can see the key at 10 o'clock. |
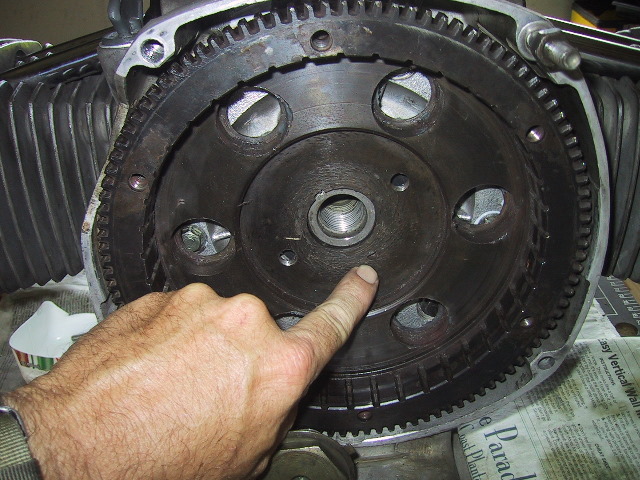 On the flywheel bolt washer there is a "tooth" bent 90 degrees. The "tooth" goes into this hole. |
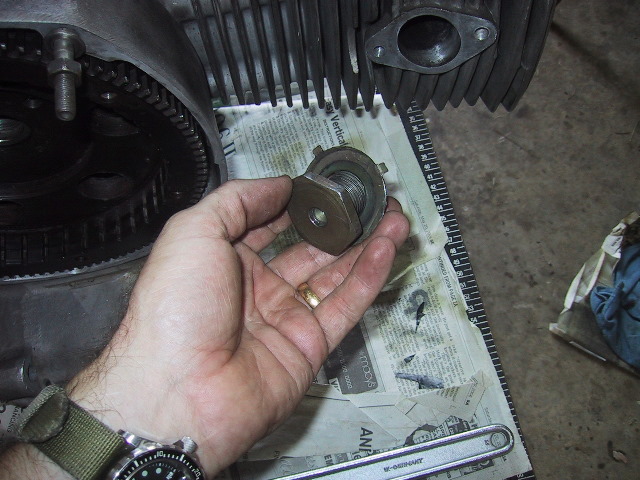 Picture of the bent "tooth"...the thoughtful Russians have given you a spare. |
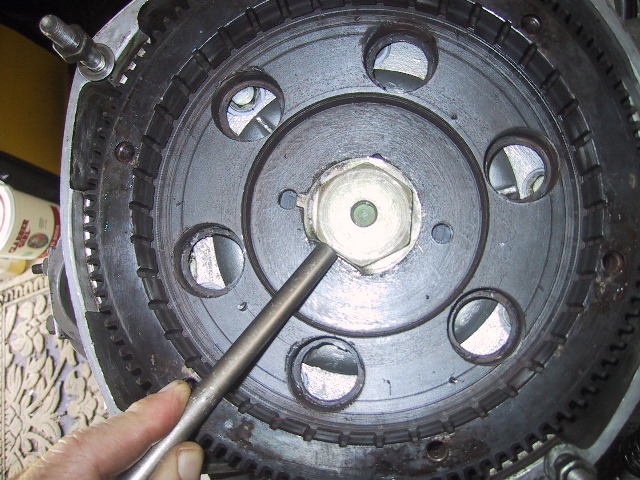
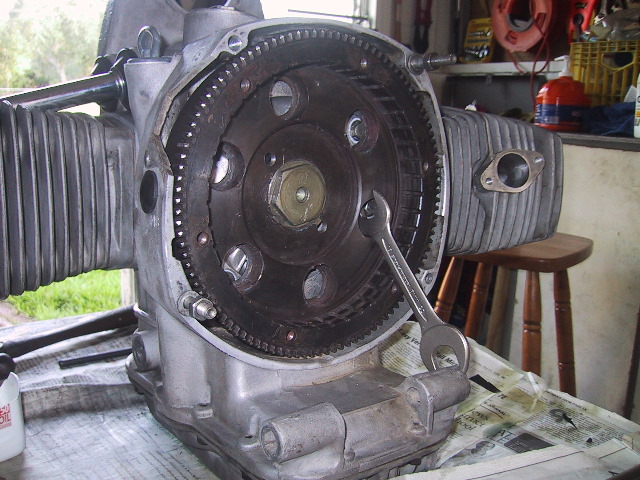 Hand tighten the flywheel bolt and block the flywheel from moving with the 19 X 22mm wrench wedged on the RIGHT side. |
Fetch the 41mm and breaker bar... |
|
...and hunker the flywheel bolt down. |
 This is what happens when you don't use a torque wrench! A testament to fine German Heyco tools...bends but doesn't break. |
The Russian wrench would
have snapped like a dry twig. A couple whacks with a BFH and it is as
good as new. Honest.
|
 Use the wood chiz to bend the washer up on a bolt flat. |
 Close up, I have the bevel down to lift the tab. |
 Finish with the Tommy bar and hammer. |
 Ready to install the clutch. |
|
|