|
|
|
|
PEKAR K-68 Disassembly
Tools Needed: 3/16 flat blade screwdriver, 5 , 8, 12 and 13mm wrench, optional; small adjustable wrench and Pin gages.
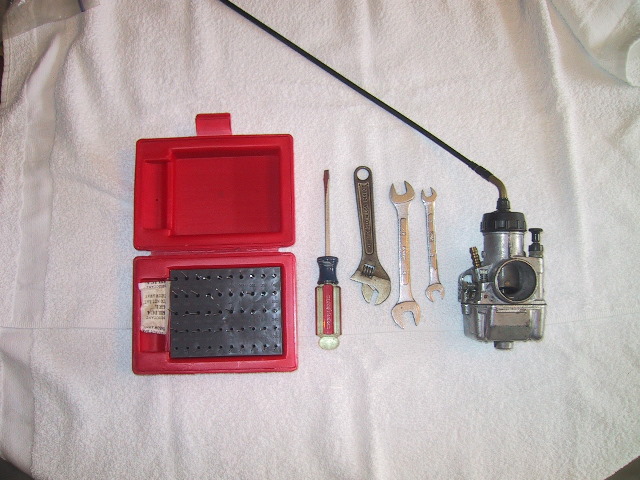 Here are some of the tools mentioned above. The pin gages are available from Terry Crawford Ural. |
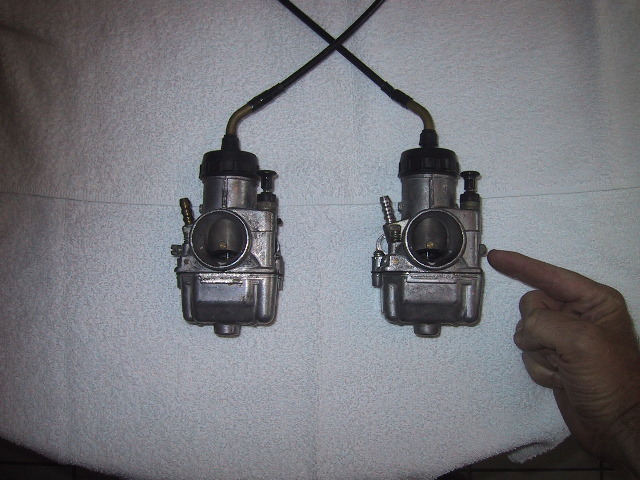 Unlike the Keihin carbs, there is a left and right carb with the PEKAR's. The idle adjustment screw is always to the outside. |
 View of the right side of the left carb. You can see the choke knob below the cap and the vent in the middle. |
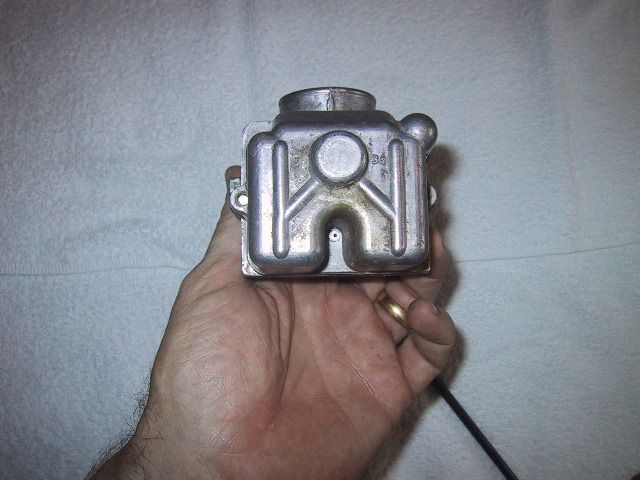
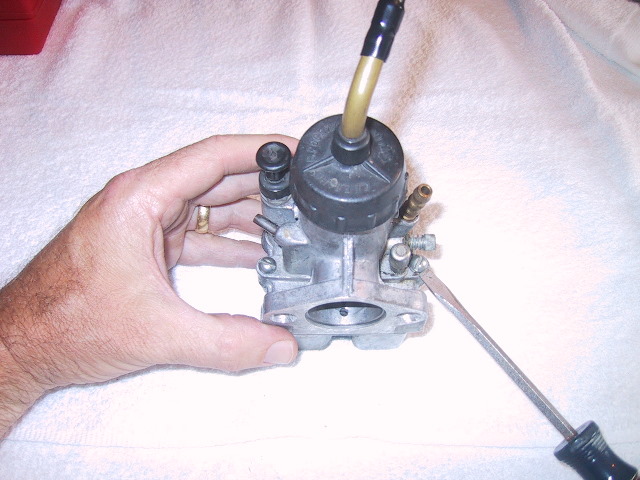
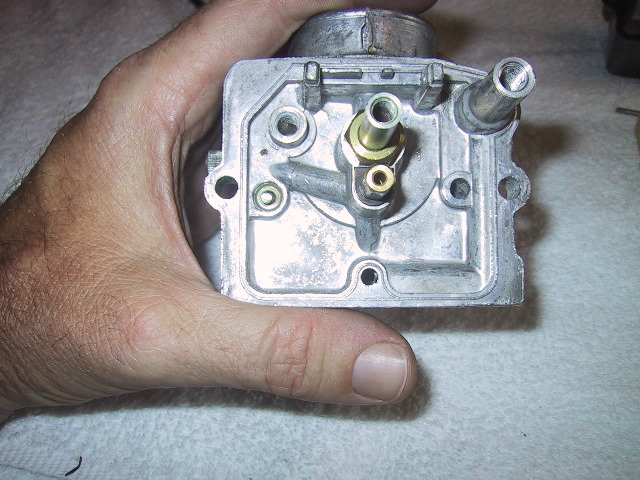
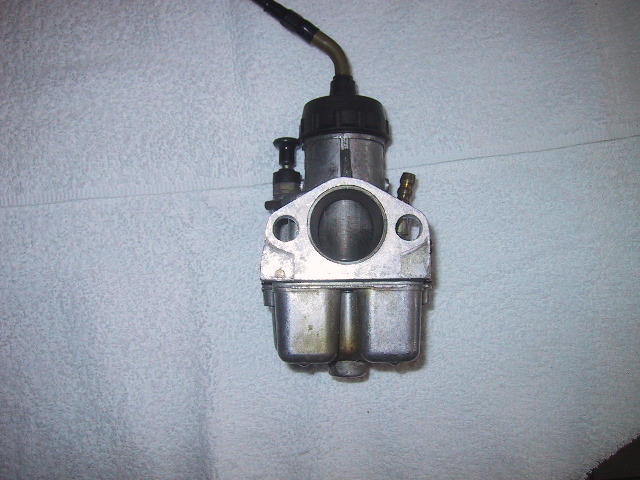 This view is the cylinder side. If mounting to newer URAL cylinders you will need to open up the mounting holes with a 29/64's drill bit. |
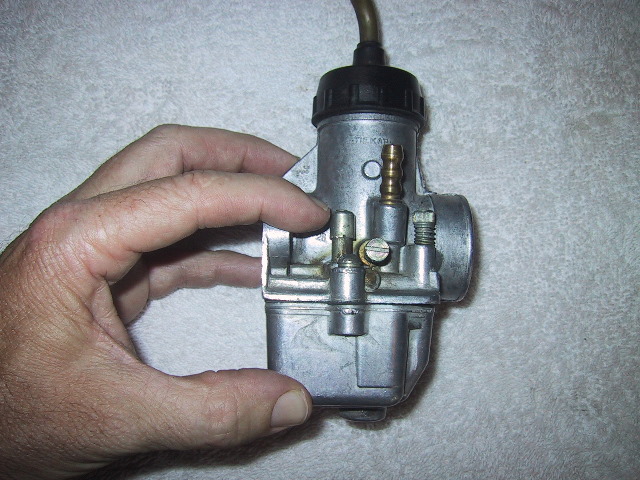
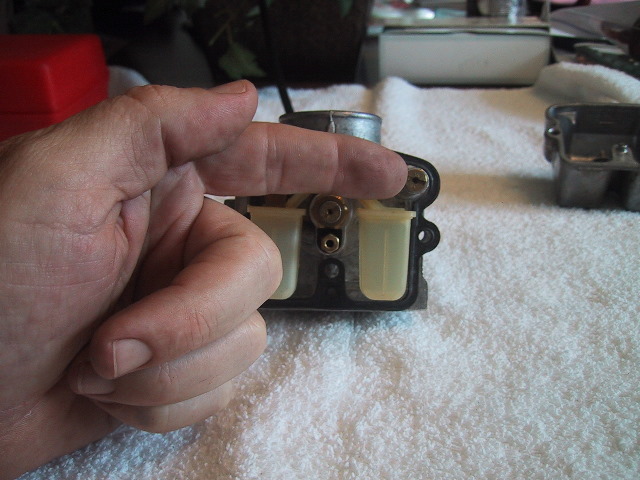
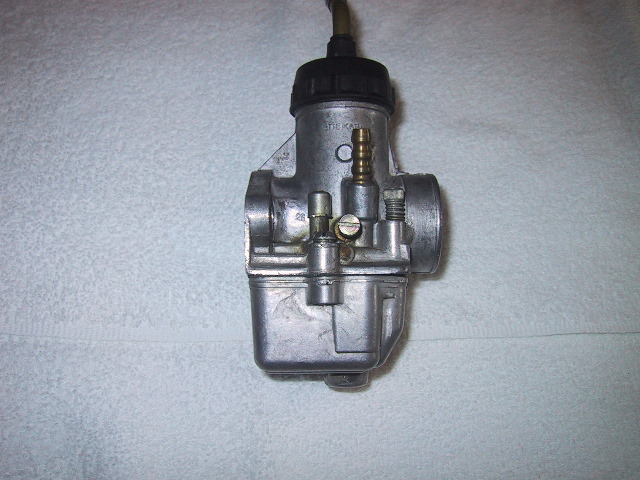 Right side of left carb. The head of the idle screw is visible toward the middle. The air screw is to it's right. The tickler plunger to the left and fuel line port is the brass vertical tube. |
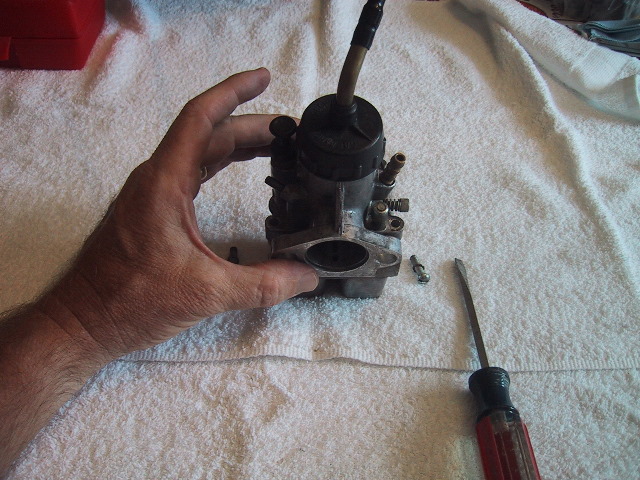
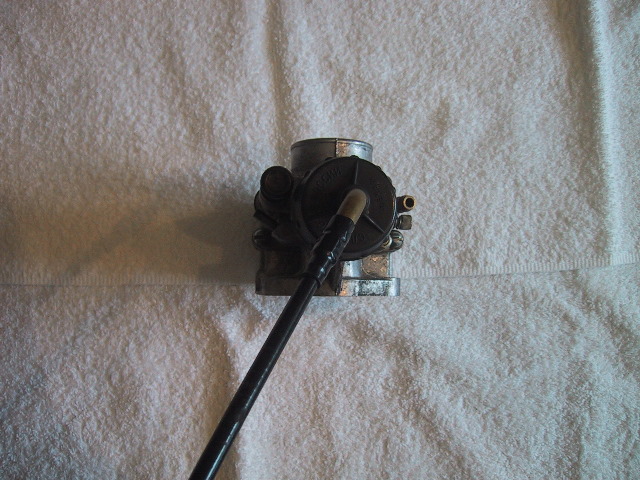 Top looking down. The black cable is the throttle cable coming out the guide tube. |
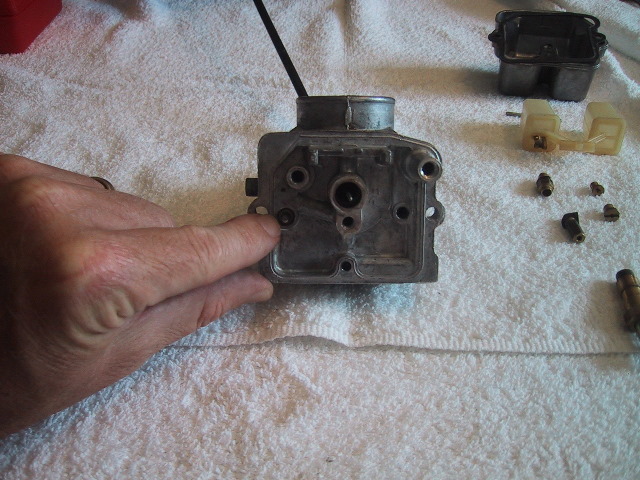
 Bottom of the float bowl. There is no provision for a bowl drain unlike the Keihin carbs. To clean the bowl you must remove it. |
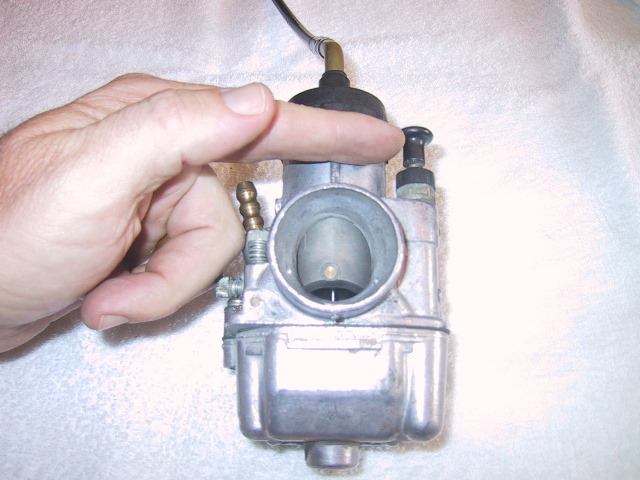
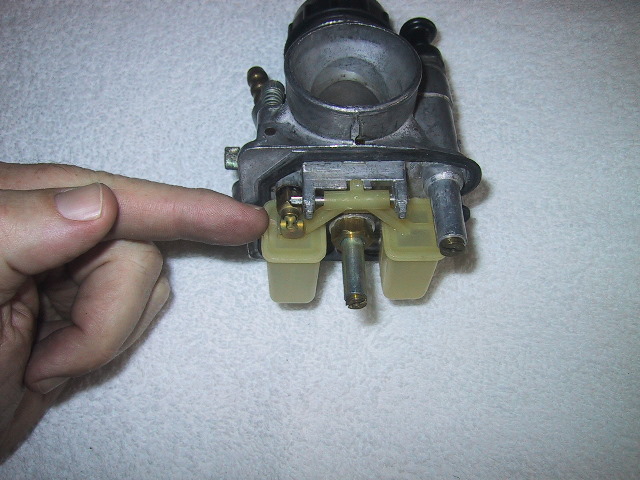
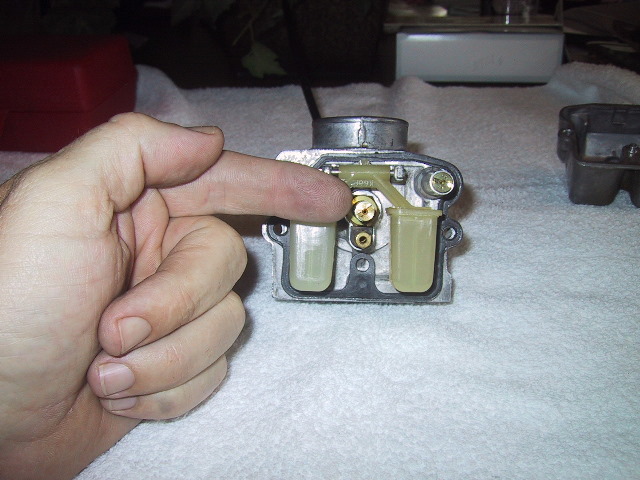
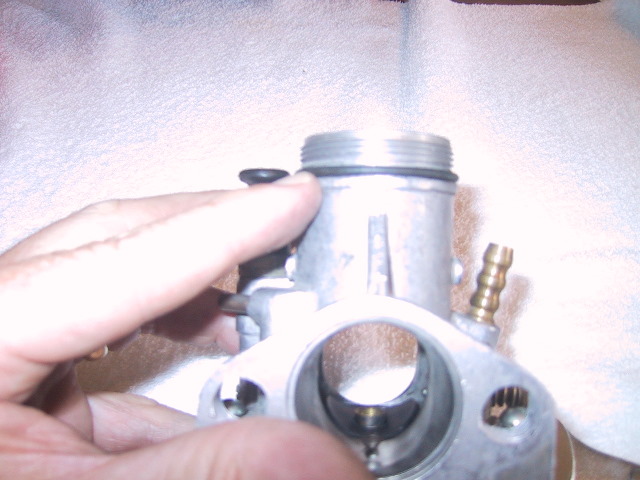
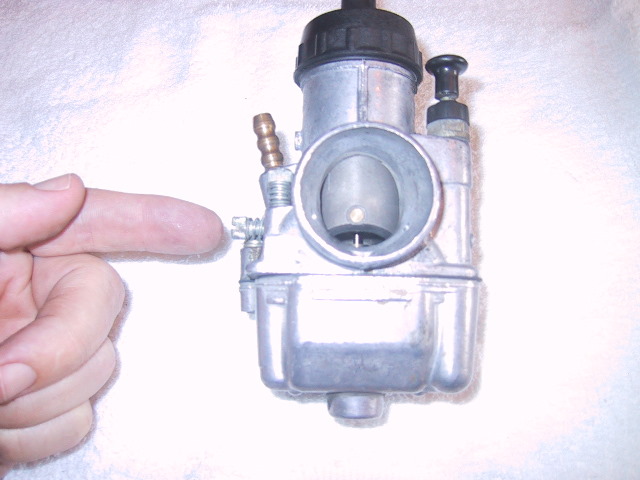 Left carb intake end. The slide a needle are visible inside the throat. Index finger is pointing to the idle adjustment which raises and lowers the slide. |
 Air screw (not a mixture screw). Factory setting is 1.5 turns CCW from gently seated. |
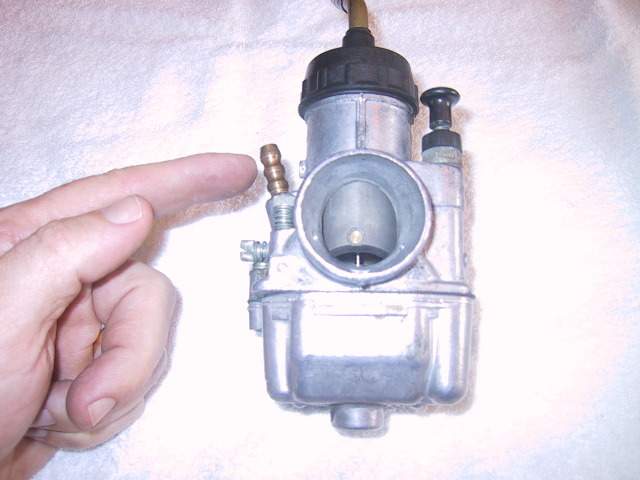 Fuel line port. |
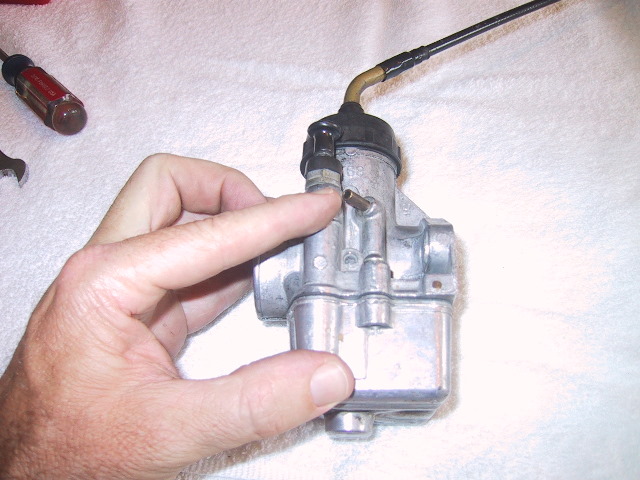
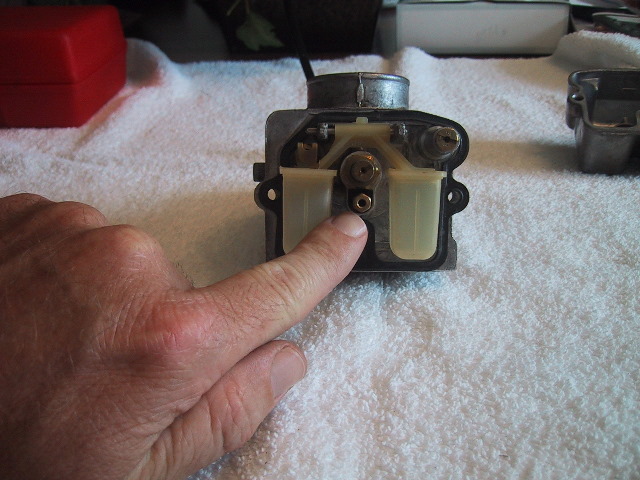
 Index finger is pointing at tickler. This is used to prime the carbs for starting under normal conditions... |
 ... the choke lever is reserved for temperatures below 32 degrees. |
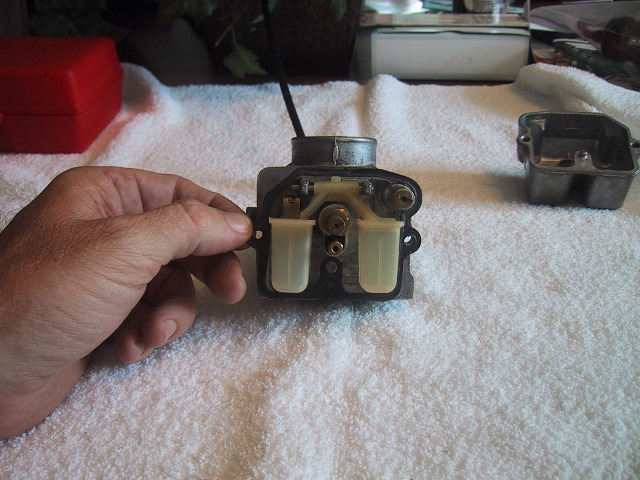
 The vent tube. |
 To begin disassembly, remove the float bowl retaining screws with the 3/16 's flat blade screwdriver. |
 With the screws removed, lift the carb body from the bowl. |
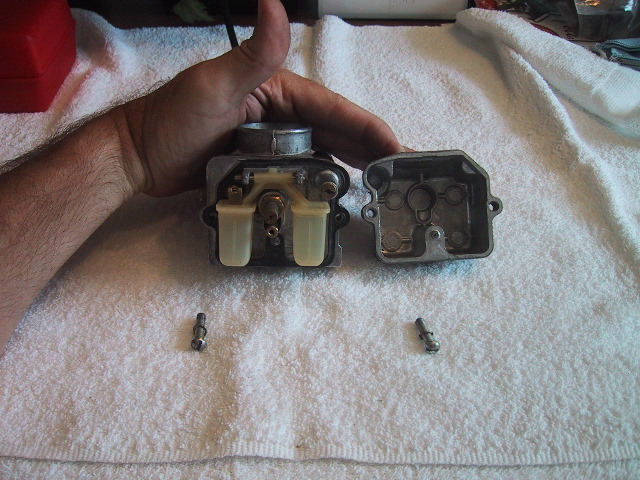 Caution, if on the bike or not, remember there will be fuel in the bowl as there is no drain. |
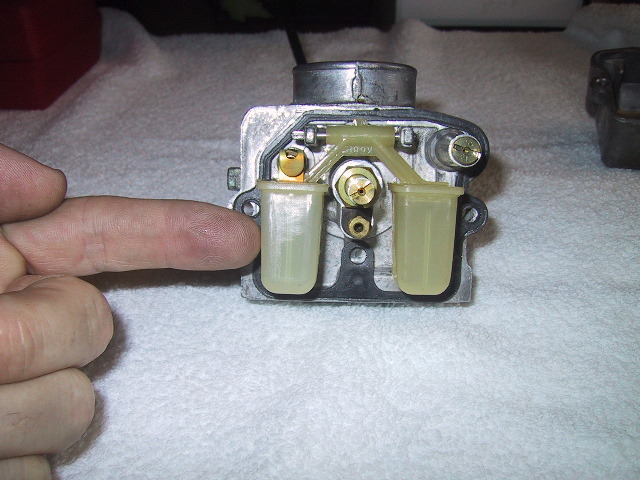 Looking up into the carb body you can see the float. These are notorious for having holes or cracking. |
 The brass float needle... |
 ...float hinge pin... |
 ...main jet... |
 ...idle jet or tube... |
 ...starter jet... |
 ...and gasket. |
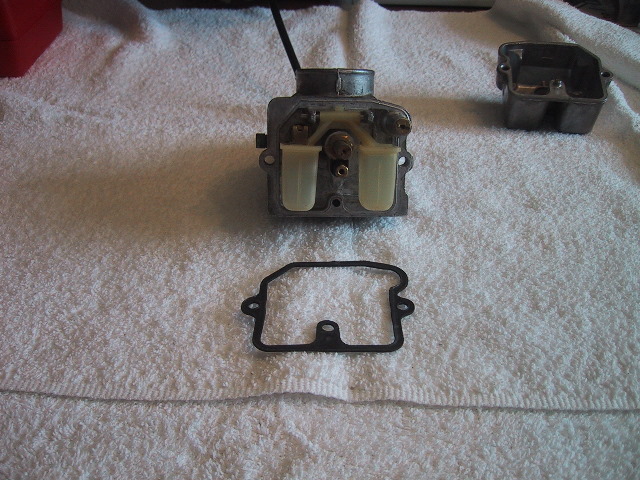 The gasket, like most Russian gaskets is designed to be reusable. Note its orientation and put it back the same way to lessen the chance of a leak. |
 One end of the float hinge pin is splined to secure it. Tap the opposite end with the screwdriver to loosen it... |
 ...and then pull it... |
 ...free. |
 Remove the float and needle. It will fall free once the hinge pin is removed so use caution to not damage float or needle. |
 The needle can easily fall or be removed from the float. It is brass, if it falls most likely it will be damaged to the point of being non-serviceable. |
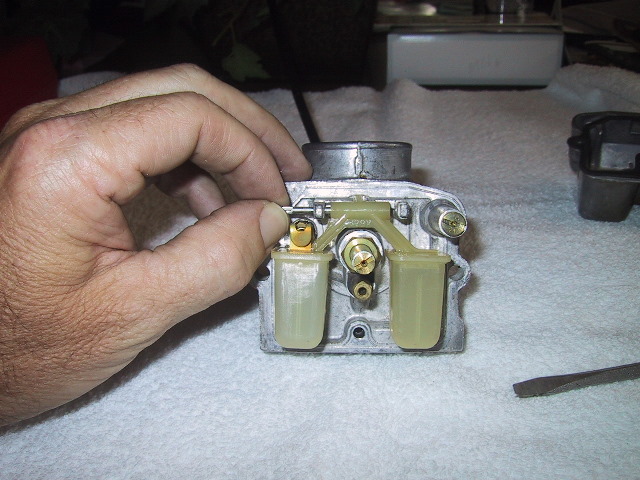
 Use the 3/16 flat blade screwdriver to... |
 ...remove the main jet. |
 Do the same... |
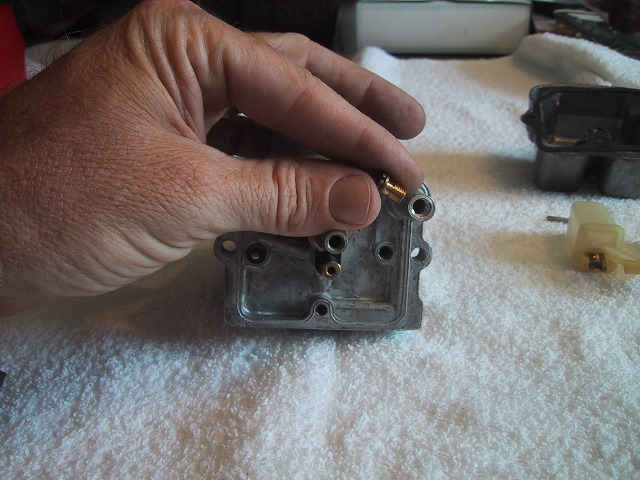 ...with the starter jet. |
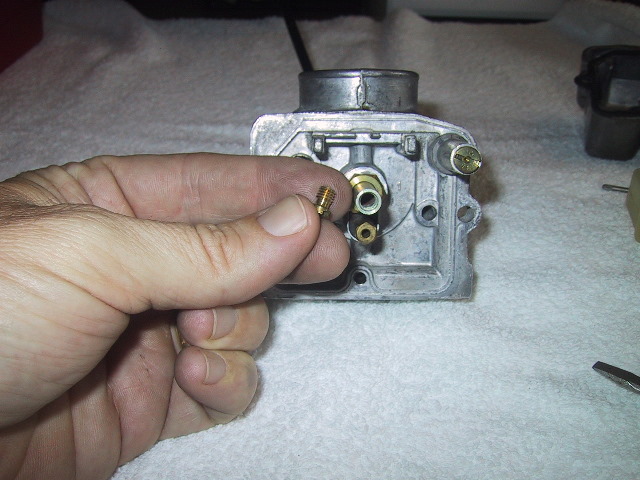
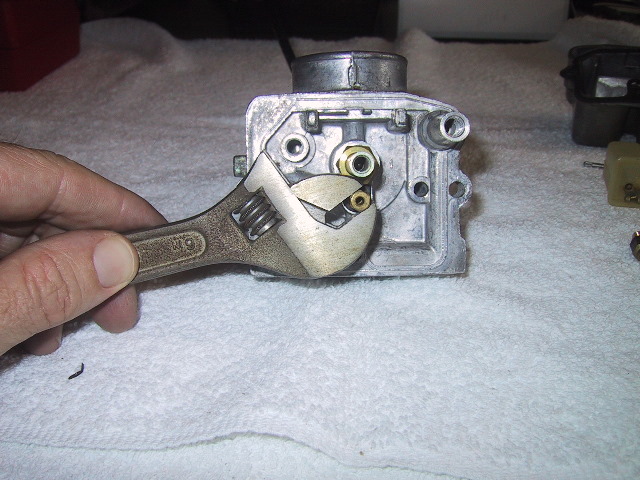
 Use the 8mm wrench to remove the float needle seat. |
 The seat threads are sealed with a small amount of thread compound. You should use some upon reassembly. |
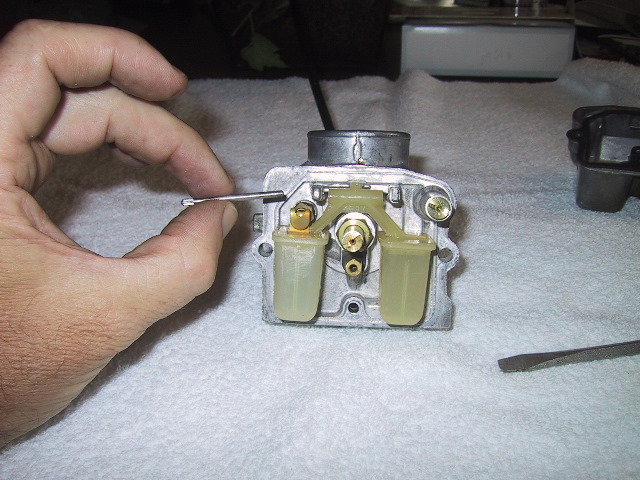
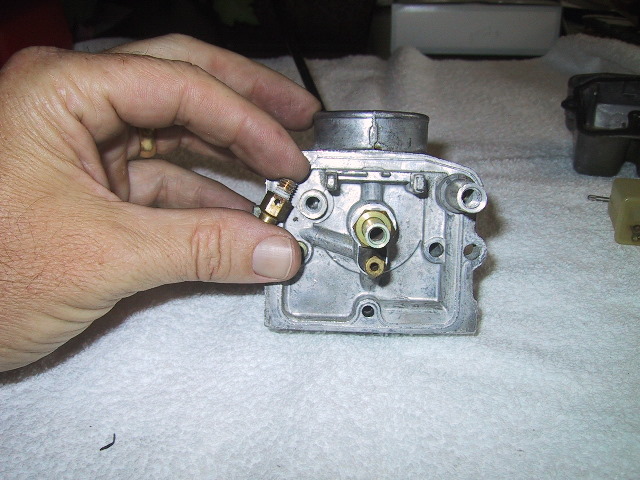
 Use the 5mm or adjustable wrench to... |
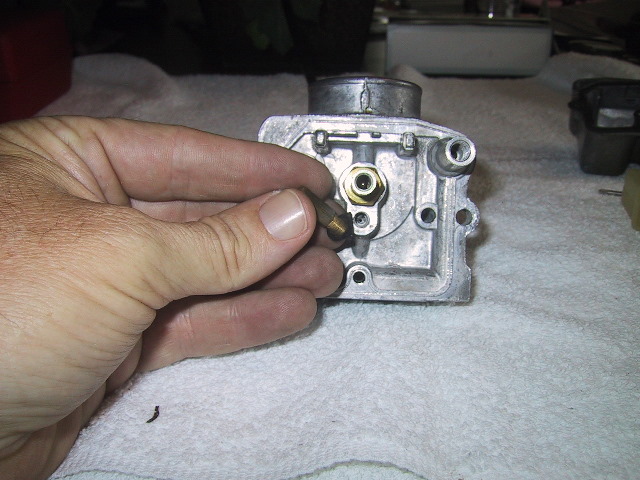 ...remove the idle jet/tube and spacer gasket. |
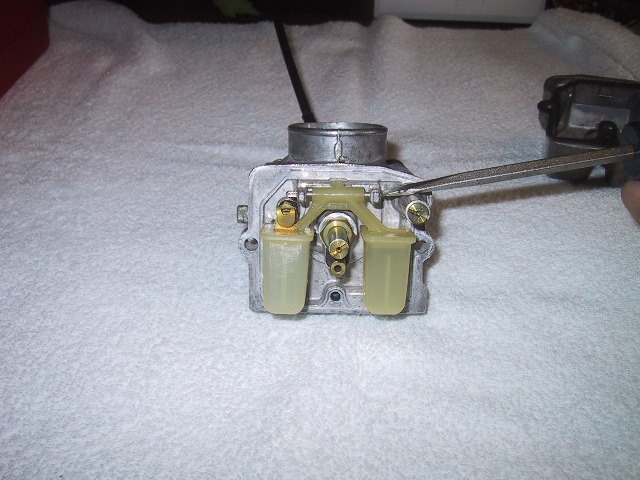
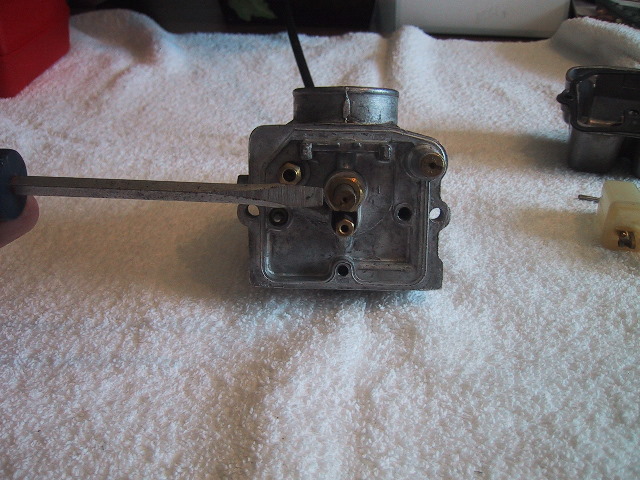
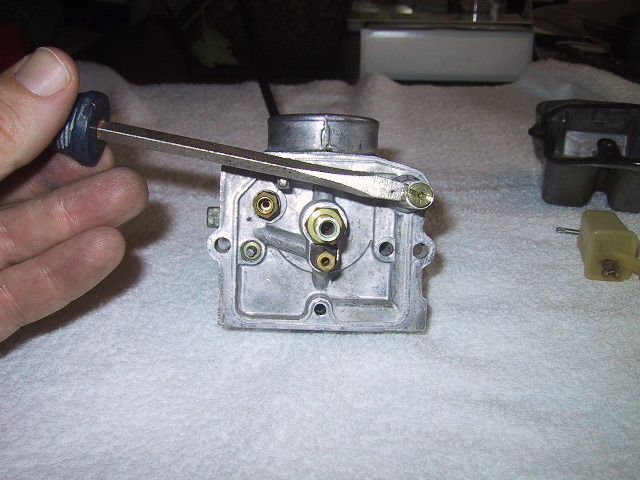
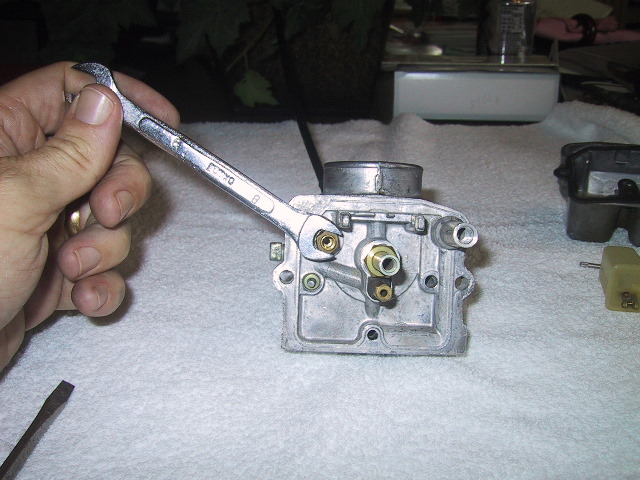
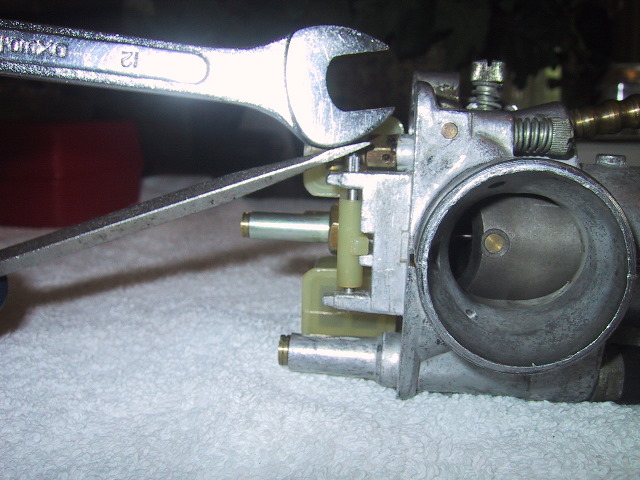
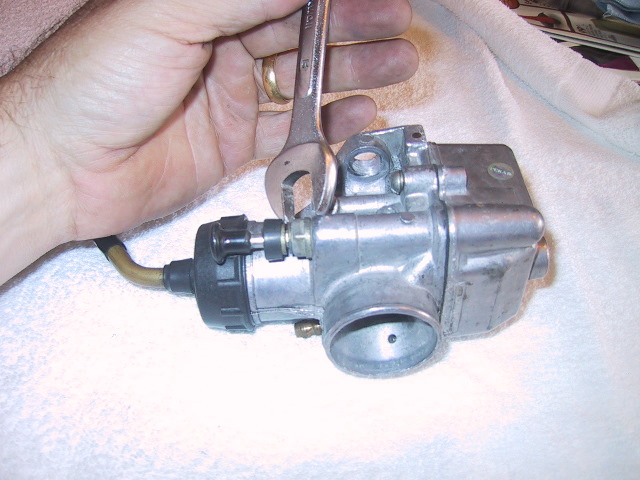
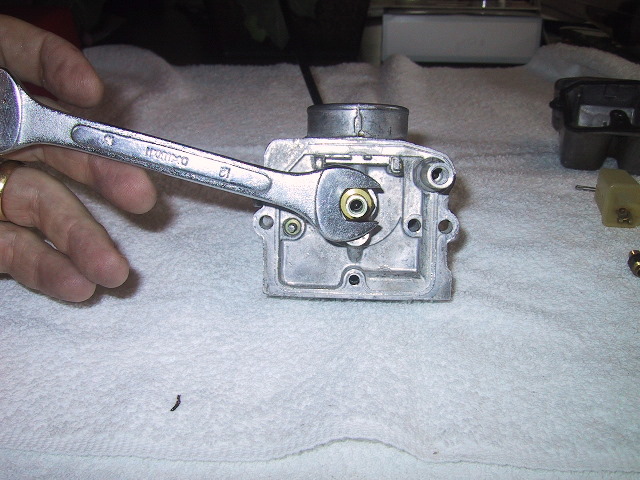 Use the 12mm wrench to... |
 ...remove the air tube. |
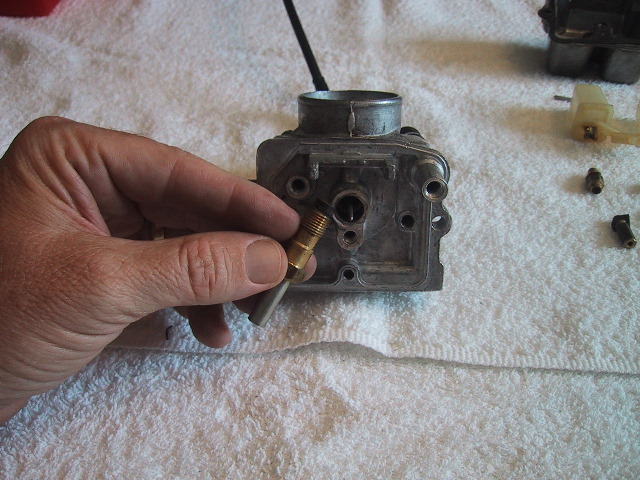
 With the air tube removed you can see the slide needle tip. |
 This is the end of the plunger for the tickler. Reassembly is the reverse steps. |
 When reassembling the air tube. Make sure the flat of the nut is facing the idle jet gasket. If a point of the nut is facing it, you may cross thread the idle jet. |
 After inserting the float hinge pin, strike the splined end lightly with the face of the blade screwdriver and wrench to seat it. |
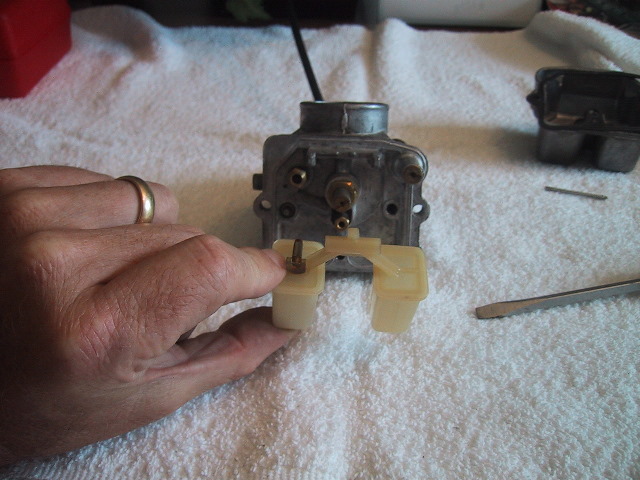
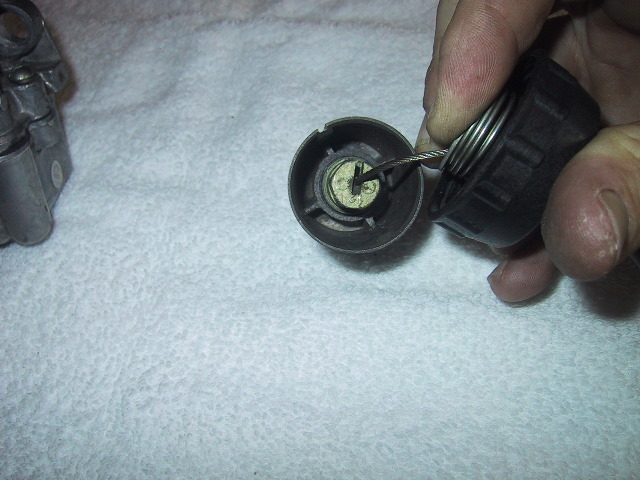
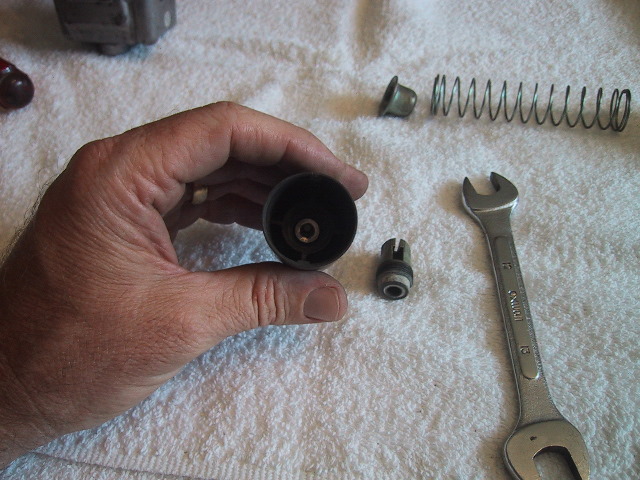
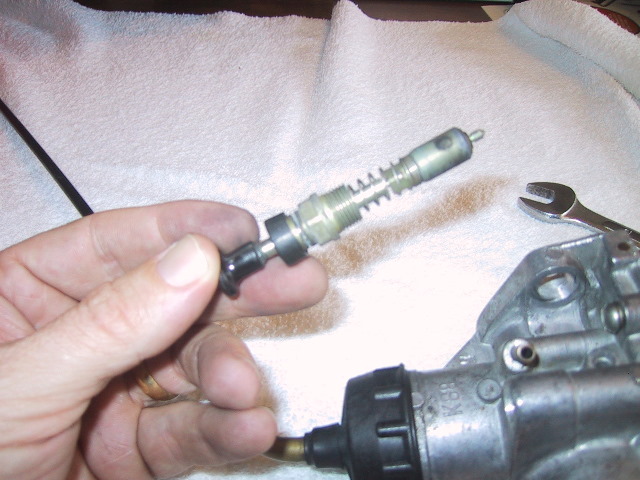
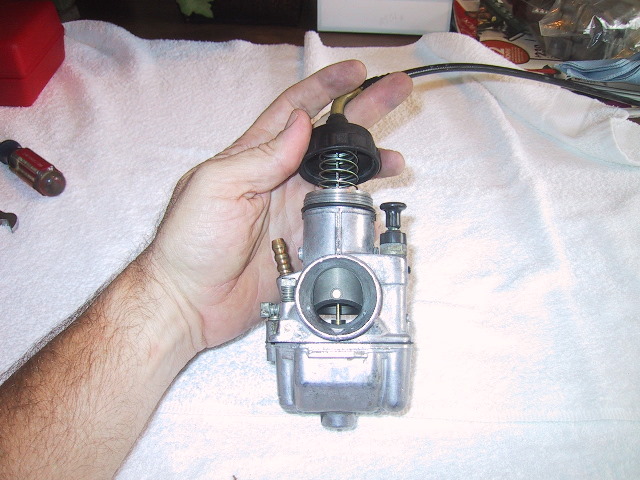 To get at the slide and needle, unscrew the plastic cap. |
 Note condition of O-ring and replace if needed. A little silicone grease keeps the O-ring in good condition. |
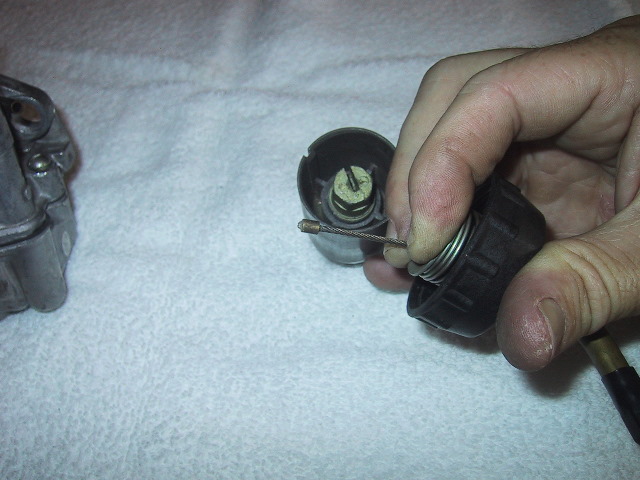
 The throttle cable, cap spring, slide and needle come out as a unit. The cut out on the slide is for the idle adjustment screw. |
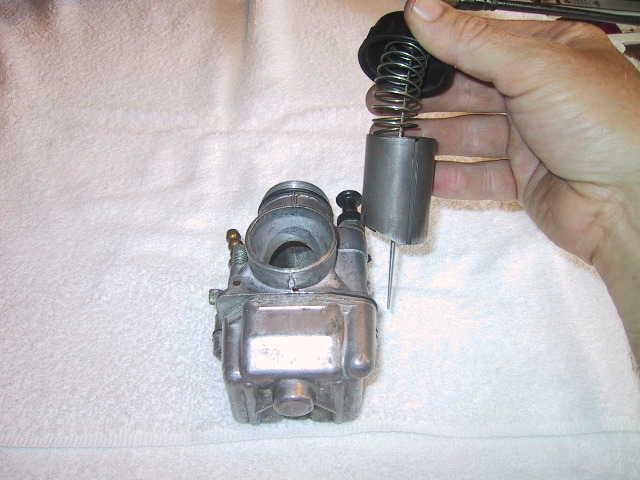 The thin slot that runs the length of the slide is for the alignment tooth inside the carb body. |
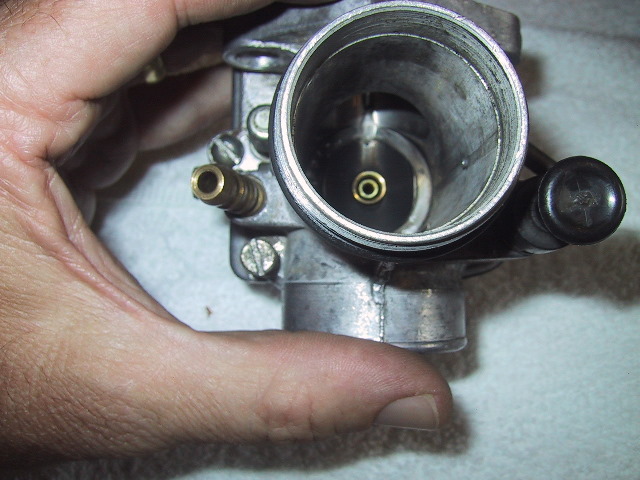 The alignment tooth is visible at 3 o'clock. Don't get the left and right slides mixed up as they are not interchangeable. |
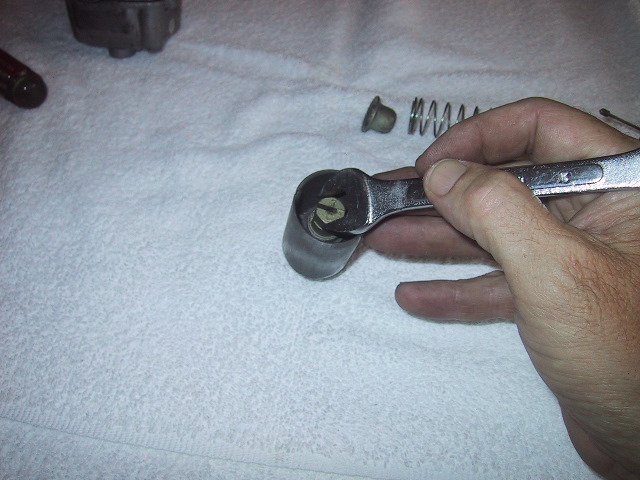
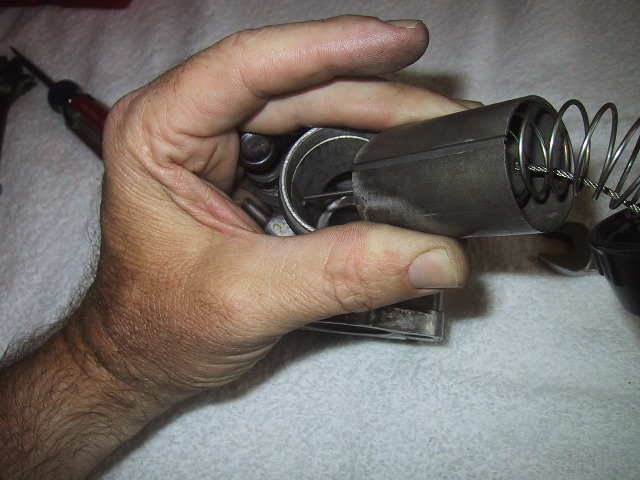
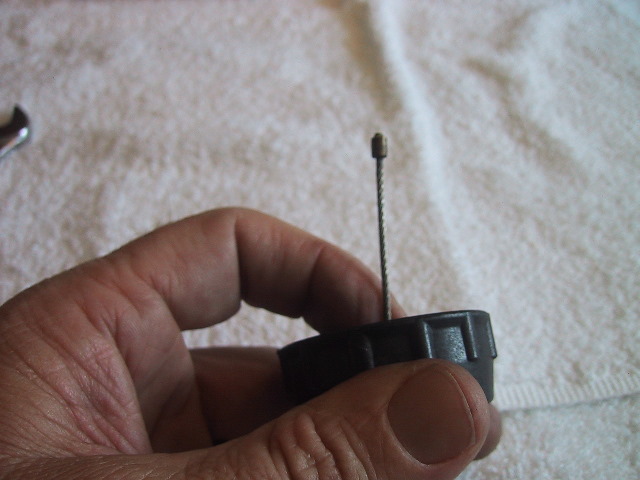
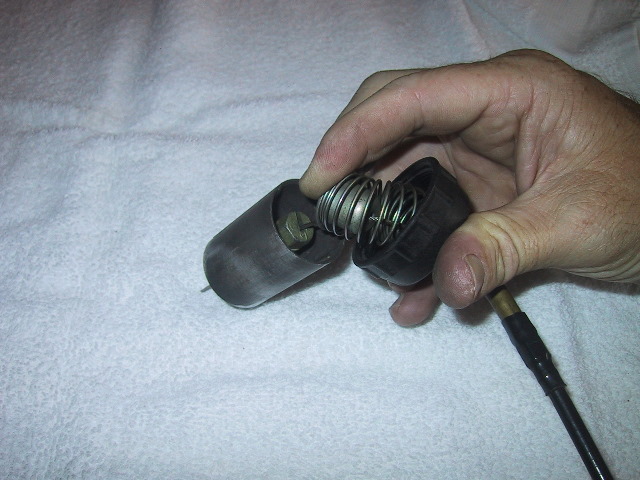 To release the slide and needle from the cable, compress the bell keeper against the cap... |
 ...which lets you disengage the throttle cable ferrule... |
 ...from the needle retaining nut. Just push the cable down a bit and lift it up through the slot. |
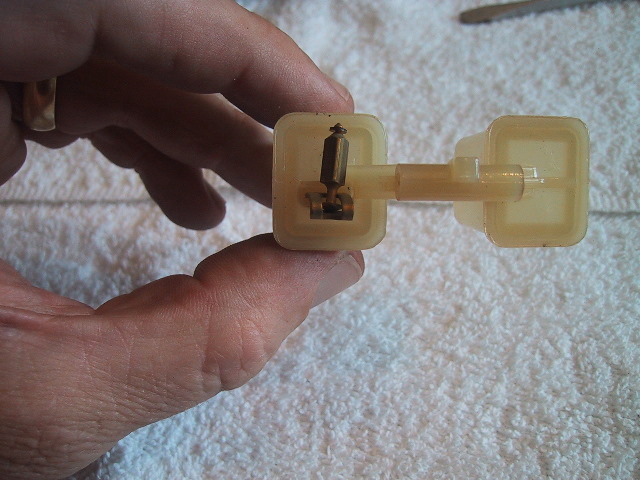
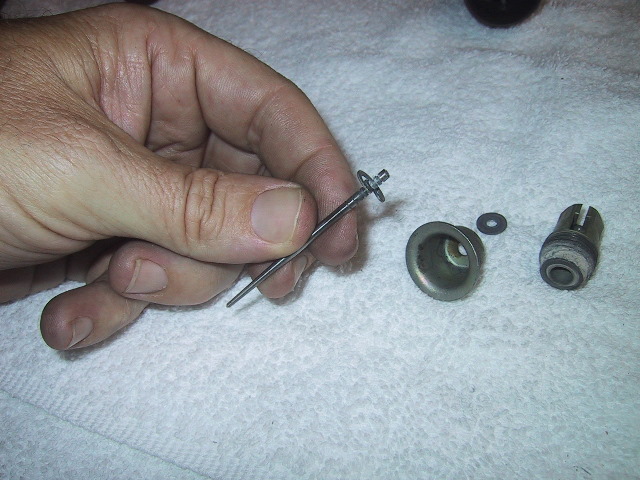
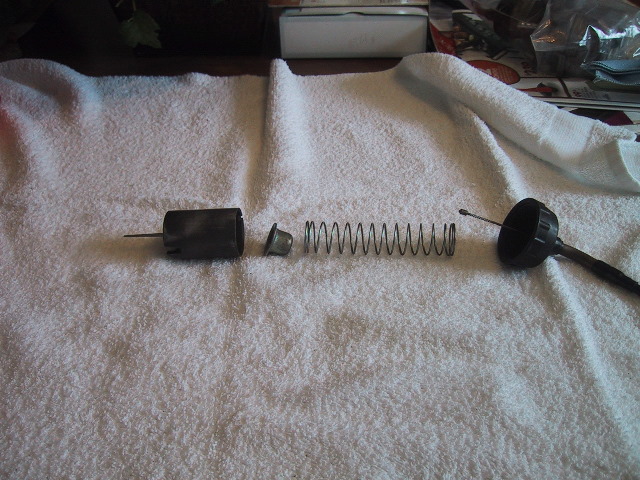 From left to right...the slide and needle, the bell keeper, spring, cap and throttle cable.
|
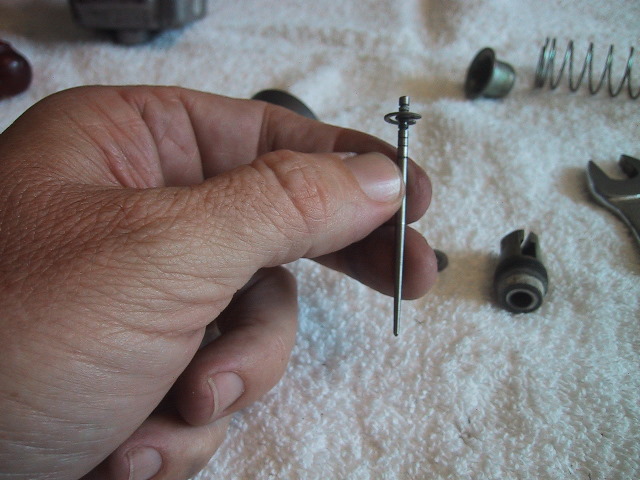
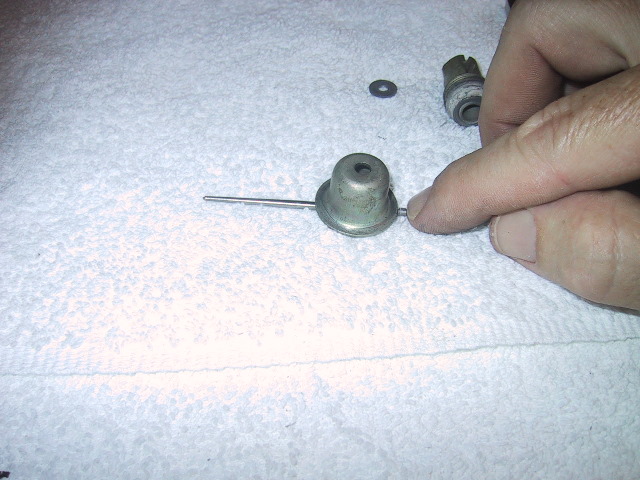
 Use the 12mm wrench or socket to unscrew the needle retainer nut. |
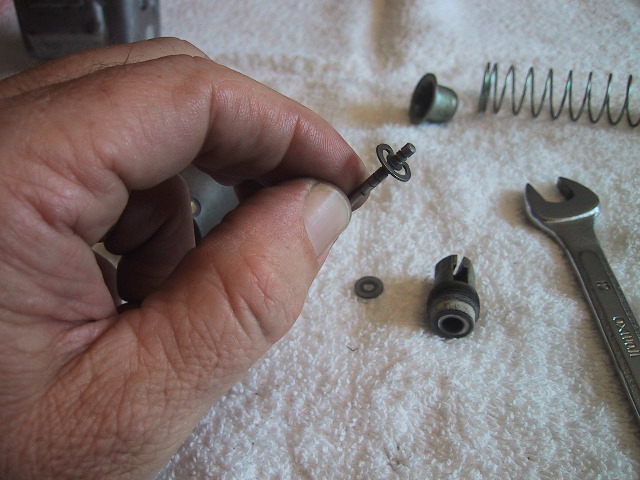
 Removing the nut reveals a washer... |
 ...and the needle height C-clip. |
 Use finger tip pressure on the tip of the needle to lift it up through the slide. |
 The needle is held in the slide by a ball bearing keeper see in the hole. |
 The needle has 5 positions of adjustment via the C-clip. Factory setting is the middle position. Lower the C-clip enriches the mixture...raising the clip leans it. |
 To remove the C-clip... |
 ...set it on a flat surface with the open end of the C-clip facing down... |
 ...cover it with a towel or something like the bell keeper... |
 ...and press down simultaneously on BOTH ends of the needle... |
 ...and it pops right off. No cover, and it will fly off into the unknown. |
 To put the C-clip back on, face the open part of the C up and snap the needle down with your thumb. |
 Ready to reinstall. The needle retaining nut threads can use some thread compound to keep it from vibrating loose. |
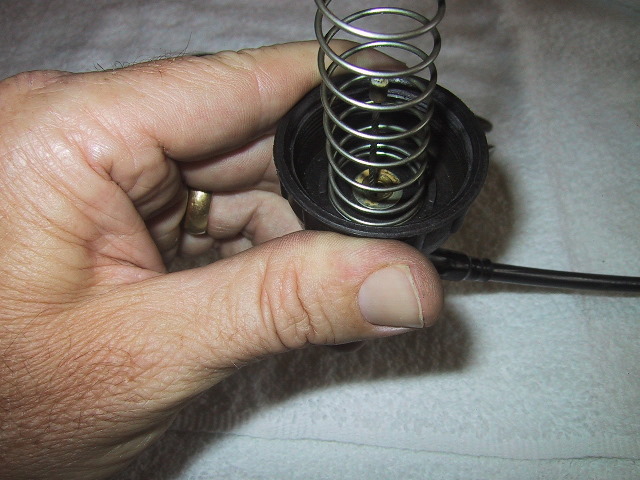 When putting the cap on make sure the spring goes inside the fingers inside the cap. |
 Make sure you line the slot up for the alignment tooth inside the carb body. It is easy to bugger the tooth if you are ham fisted. |
 If you take a file and bevel the edges of the cable ferrule it makes it much easier to thread it in/out the cap guide. |
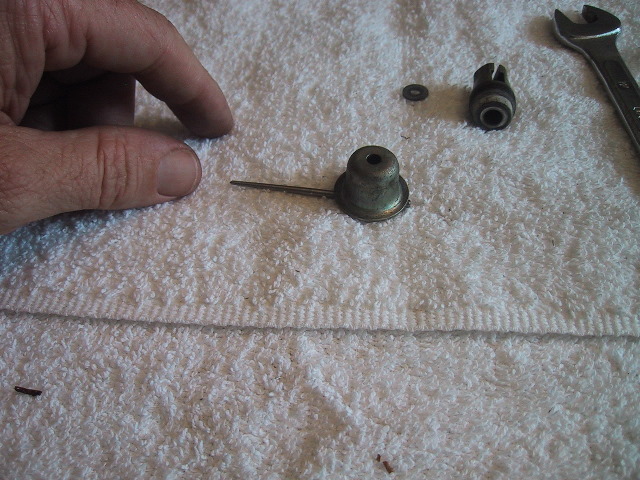
 If you need to remove the choke mechanism, use a 13mm wrench to loosen the nut... |
 ...and pull it free. It can be further disassemble by pulling the spring back and sliding the shaft out...but why? |
|
|