|
|
Keihin CVK32 Disassembly
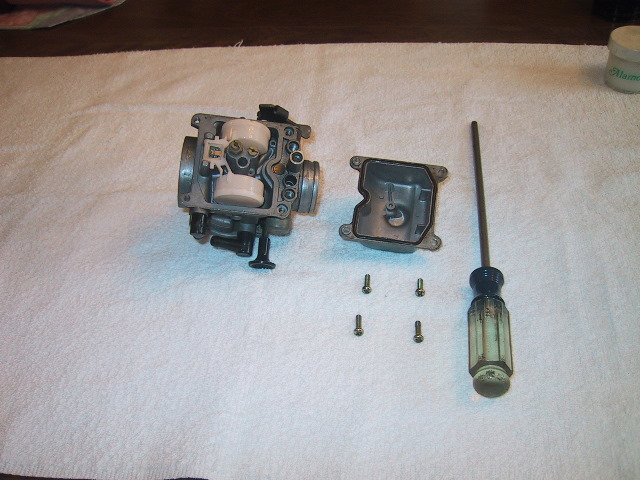
Tools Needed: Long shank #3 Philips screwdriver, 8mm wrench, 3mm Allen wrench, Thin long shank flat blade screwdriver, toothpick or similar implement and optional items; silicone grease and Pin gage set.
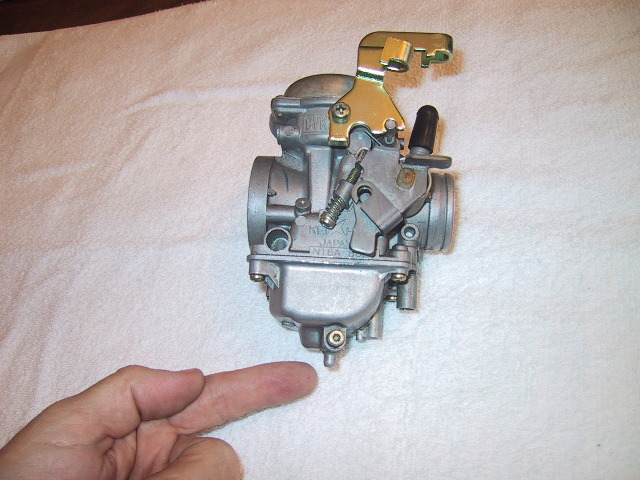
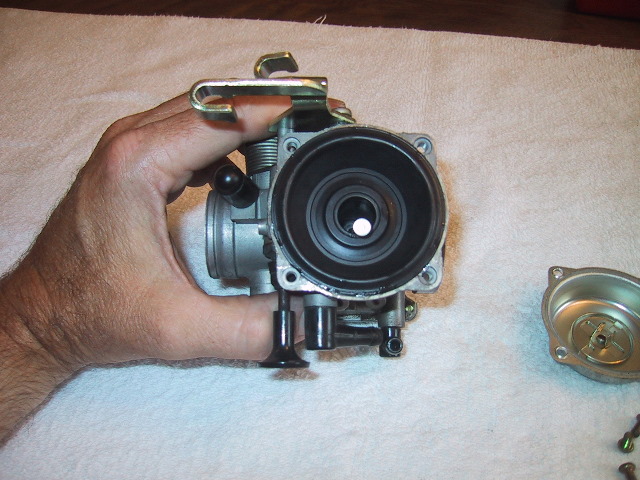
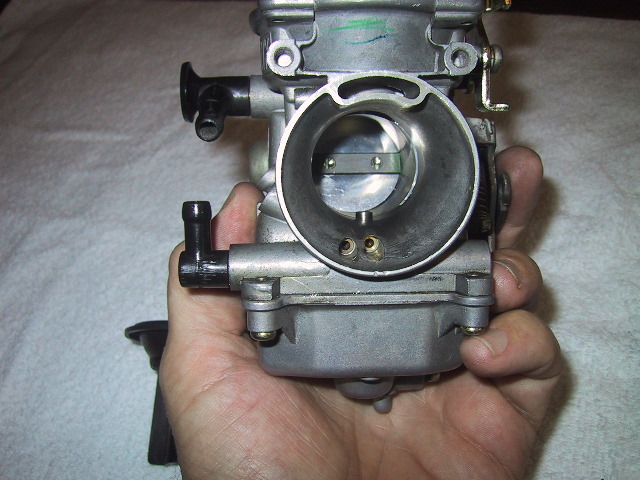
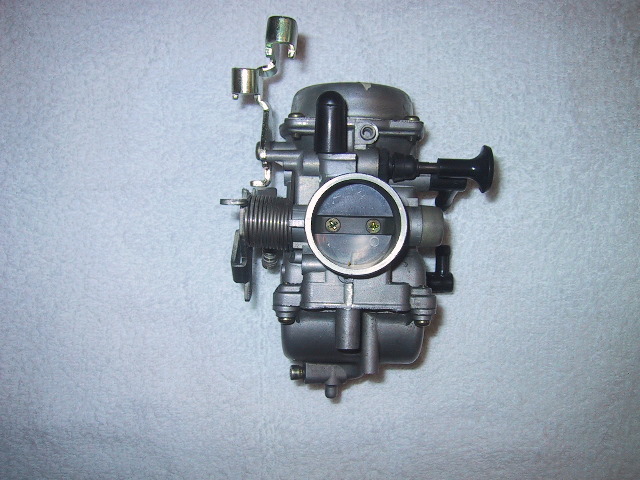 Front view, compliance fitting side. |
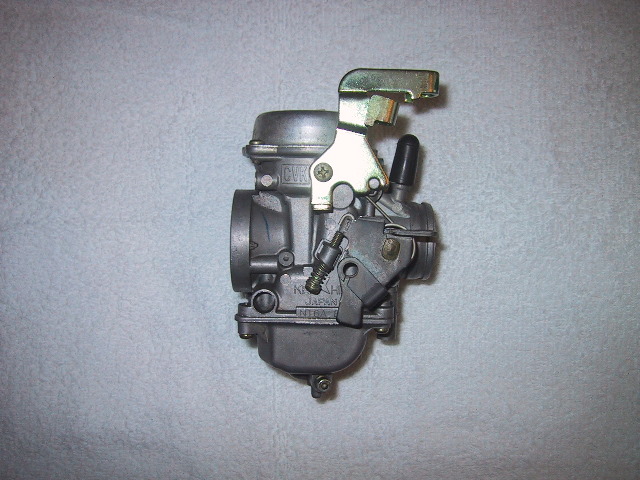
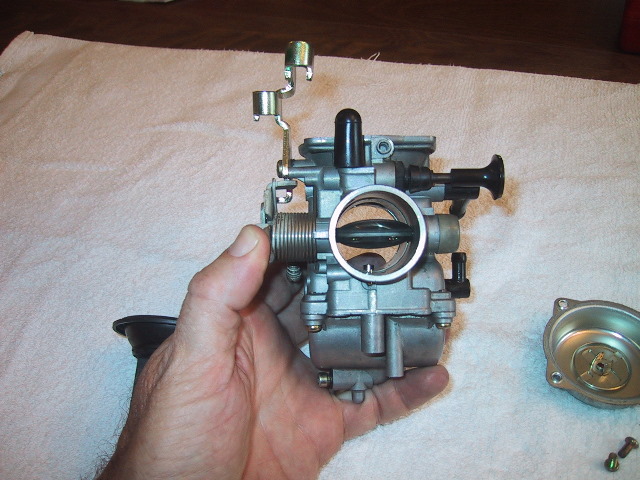
 Left side view. |
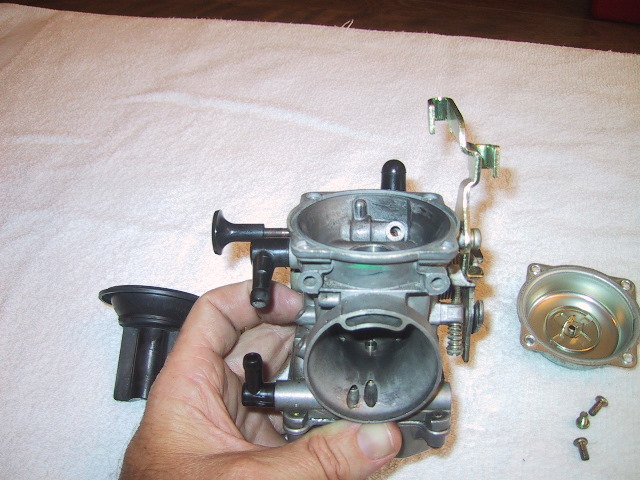
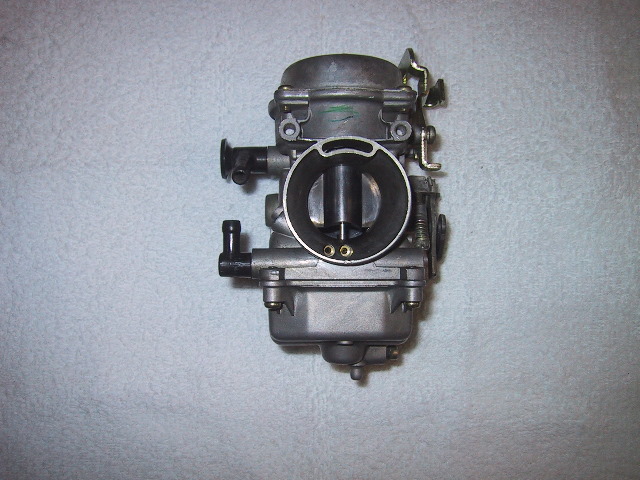 Aft view, branch tubing or intake side. |
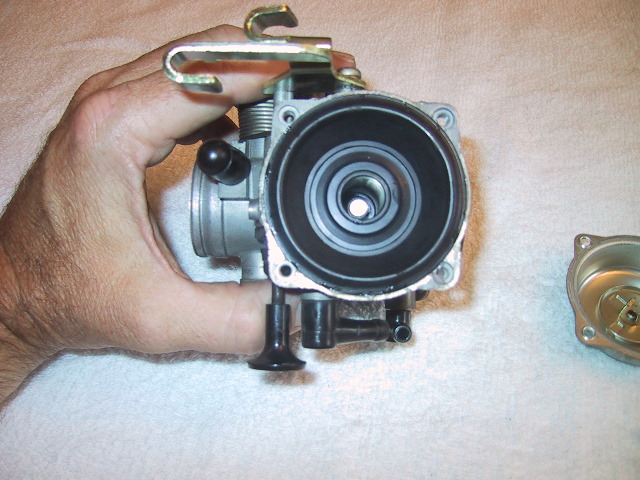
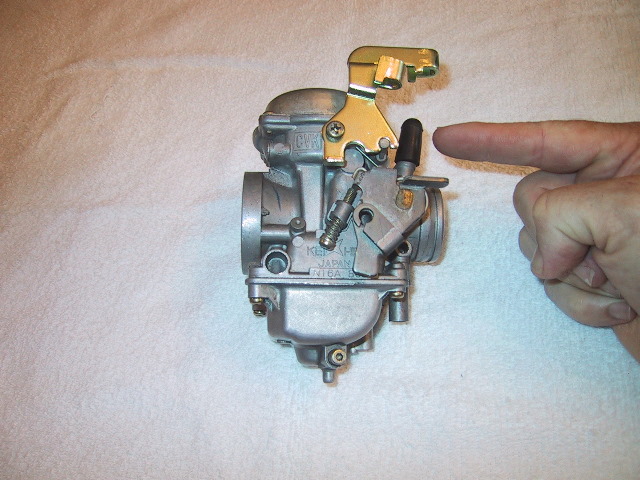
 Right side, idle adjustment screw can be plainly seen. |
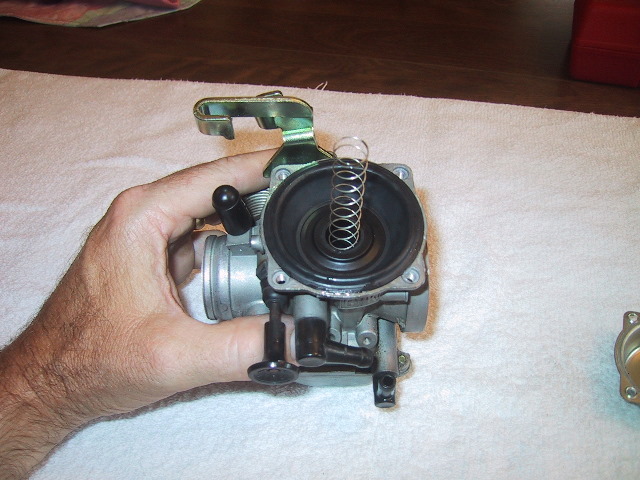
 Top view looking at diaphragm cap. |
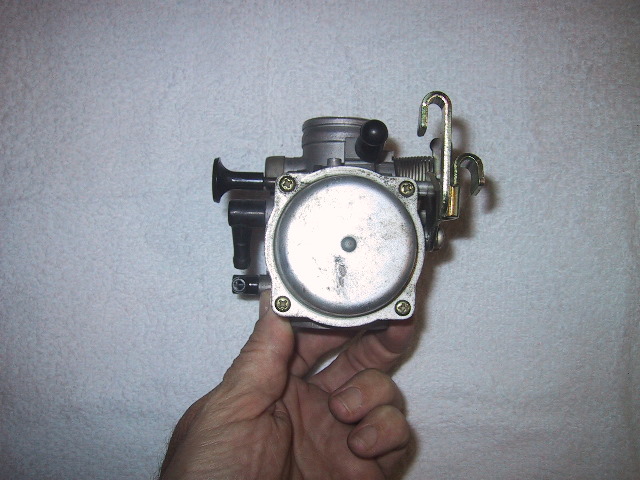
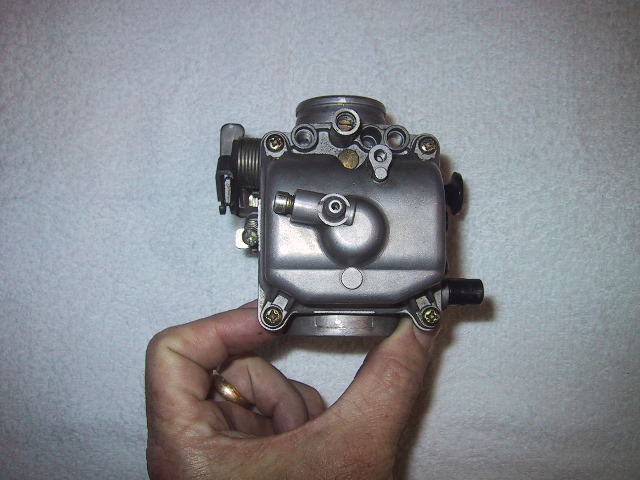 Bottom view looking at carb bowl drain. |
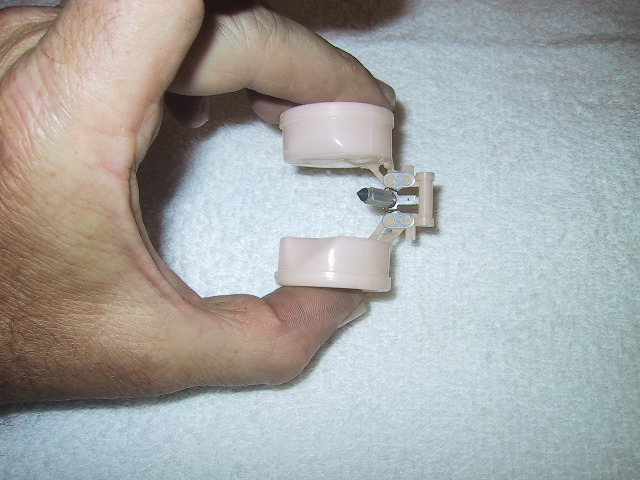
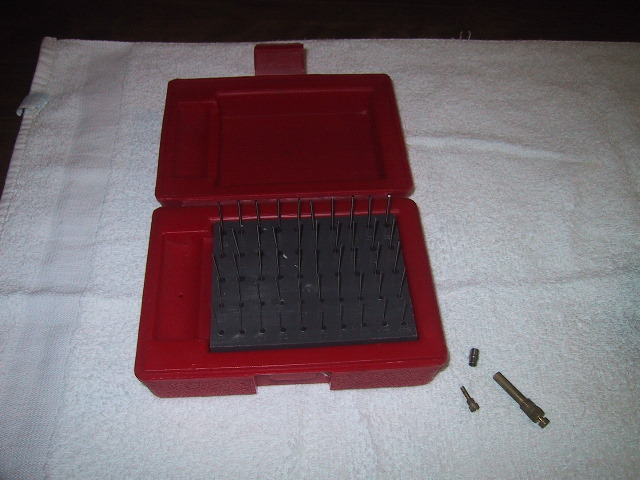
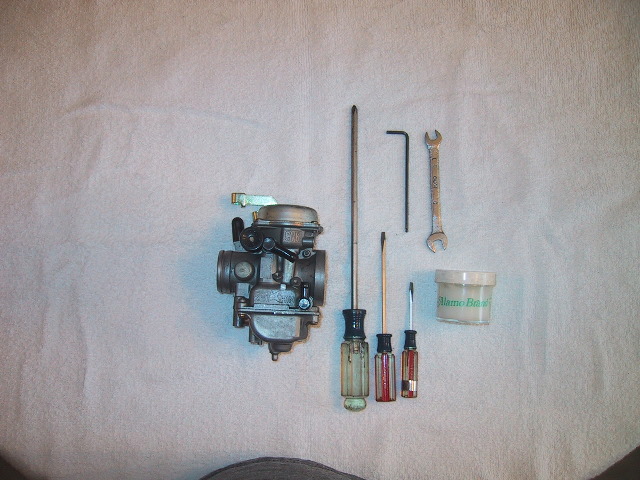 Tools needed to work on Keihin carb. Optional Pin gage set show below is available from Terry Crawford Ural. |
 When working on the carb, drain the fuel from the bowl... |
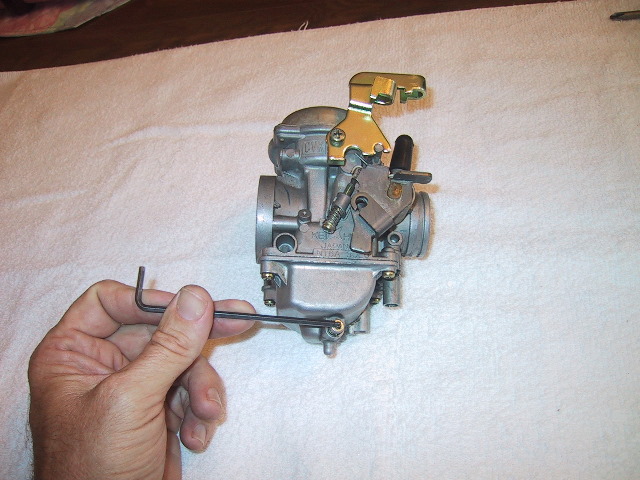 ...use a 3mm Allen wrench to crack the screw open...catch fuel in a clean container and check for contaminates. |
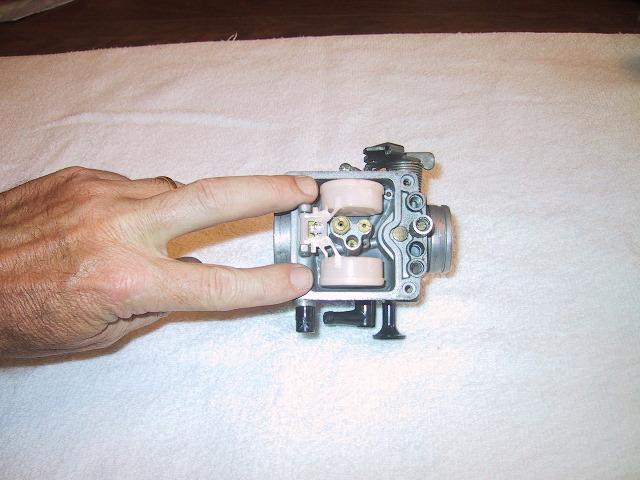
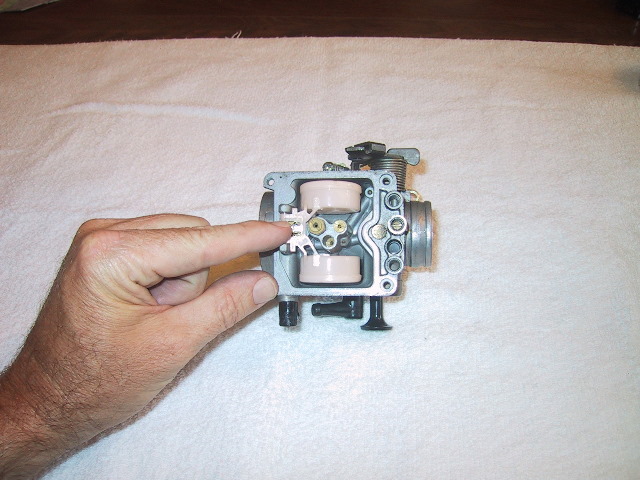
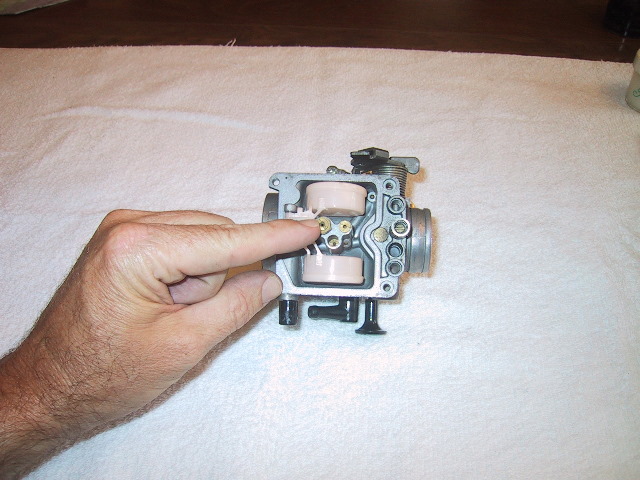
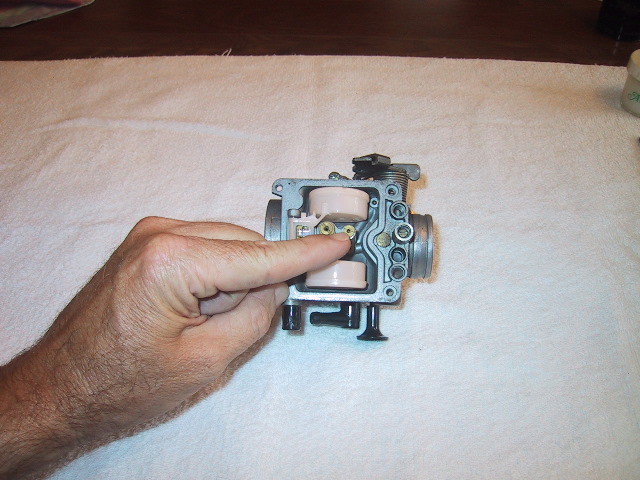
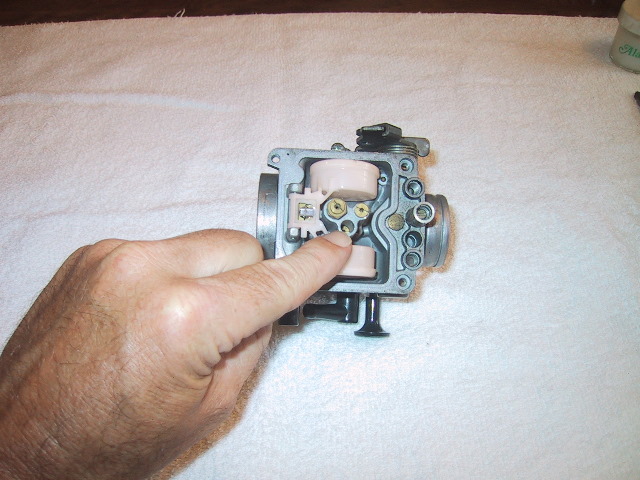
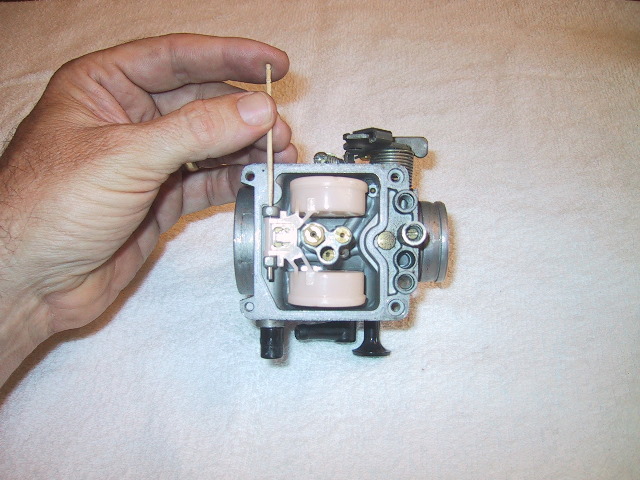
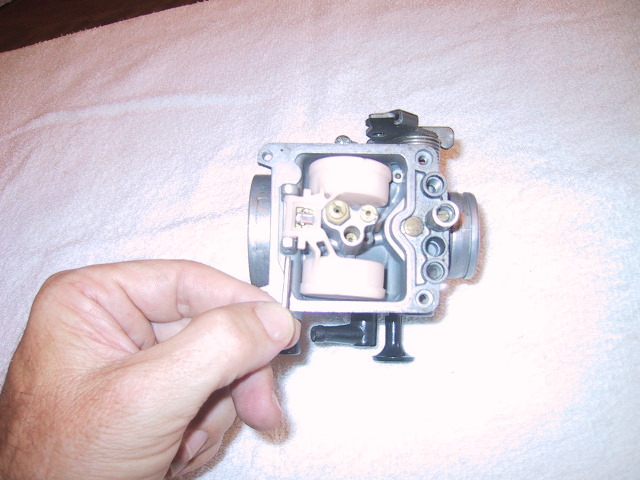
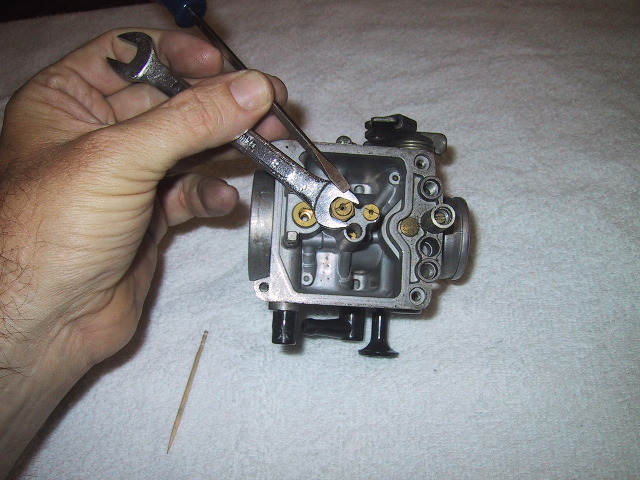
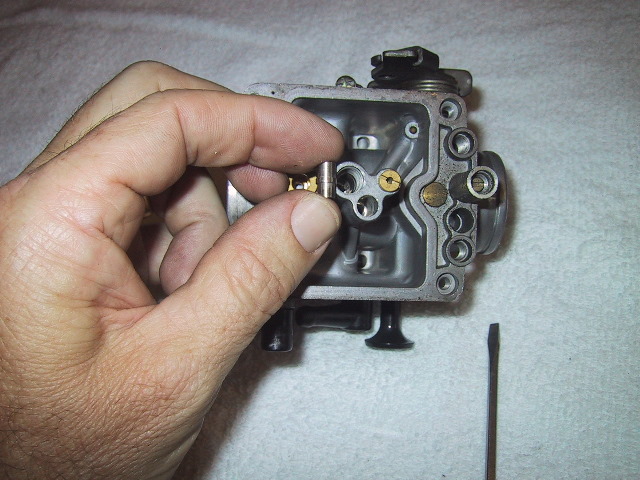
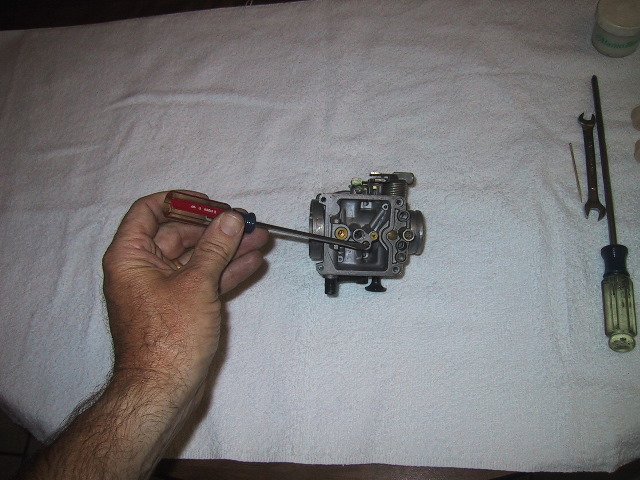
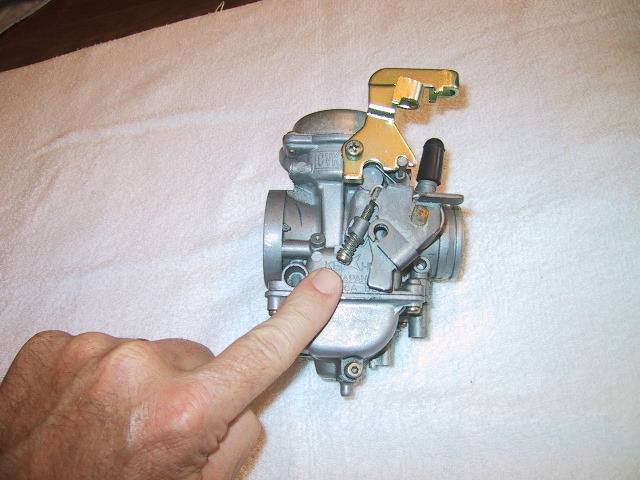
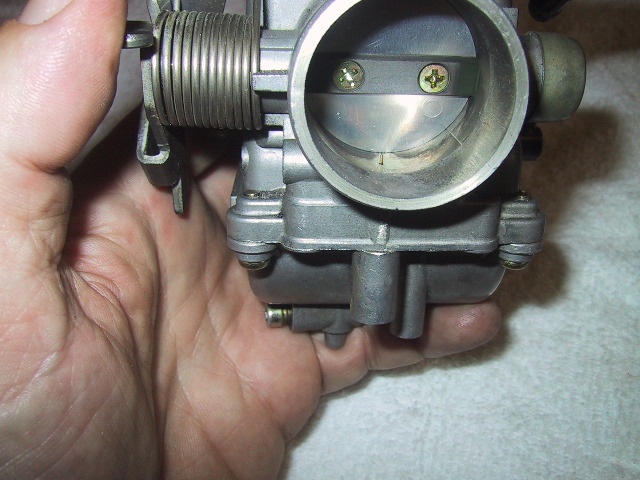 You are looking into the front of the carb, the back plate with 2 screws is the butterfly valve. At 6 o'clock in the mouth of the carb you can see the end of the idle mixture needle poking up. Try not to damage it! |
 The idle mixture screw adjustment is underneath the carb. Turn the screw very gently CW until you just meet resistance...any further and you will damage the needle. Factory setting is 1.5 turns CCW from seated. |
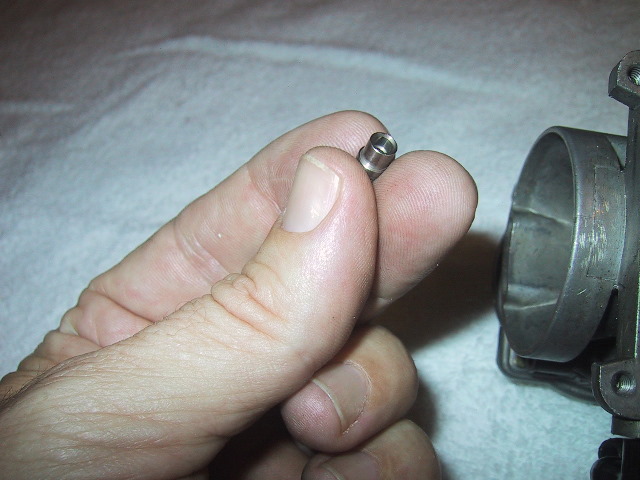
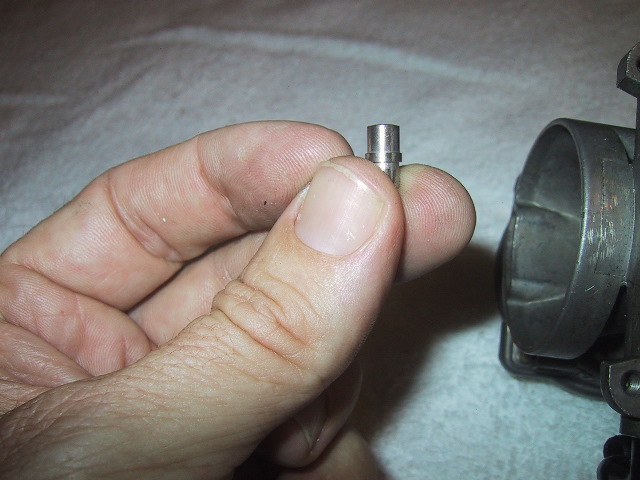
 If you remove the needle these are the pieces top to bottom. O-ring, washer, spring and needle. Be very careful not to lose or damage the rubber O-ring! Many times it will remain up in the carb, turned sideways and get crushed when the needle is driven home. Then you are buggered. |
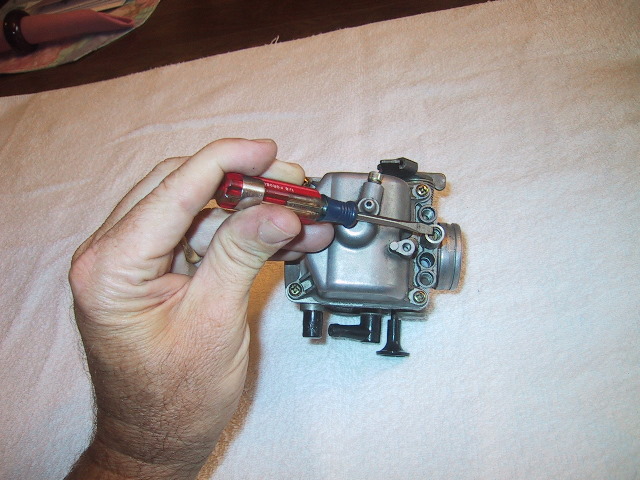
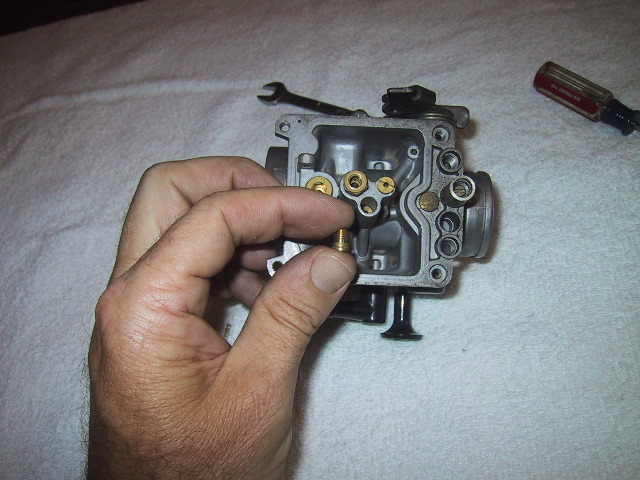
 If you use a long shank Philips screwdriver to break the bottom float bowl screws loose...you won't bugger the heads. Well, some of you will anyway. |
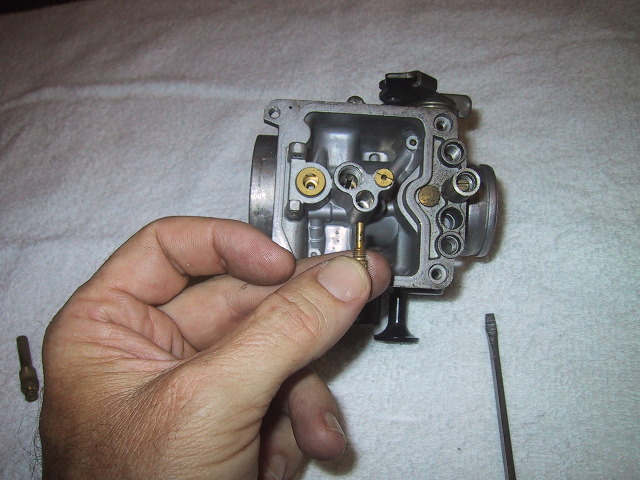
 Clean any crud from the bowl with solvent. With the float bowl removed you can now see the... |
 ...float... |
 ...float needle... |
 ...main jet... |
 ...starter jet...
|
 ...and idle jet. |
 To remove the float and float needle, use a toothpick... |
 ...to push the pivot dowel out. |
 Lift the float with needle attached out. |
 The needle has a wire loop which slides over the float tab...use caution as it falls off easily and can be damaged. Careful of the tab also, if bent it will change the level of fuel in the bowl. |
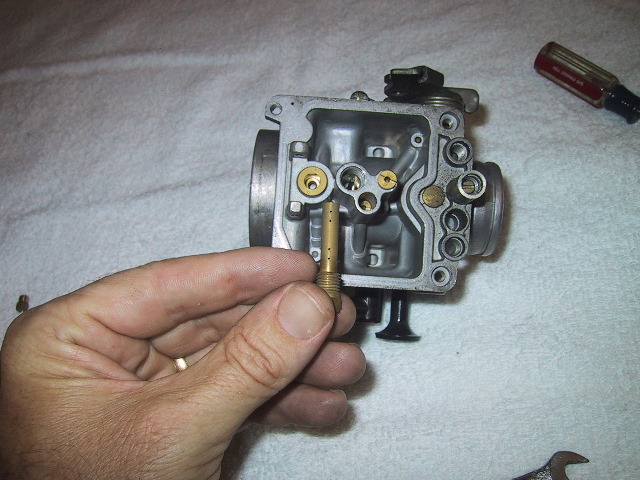
 To remove the main jet, hold the air tube steady with an 8mm wrench and use a flat blade screwdriver to unscrew the main jet. If desired, you can remove the air tube and main jet as one unit. |
 Main jet removed. |
 Now remove the air tube with the 8mm wrench. |
 If you are doing this on the bike expect the needle jet to drop free. Have a towel down to catch it. If the carb is free, hold it right side up and catch the needle jet in you hand. |
 There are two distinct ends to the needle jet. This end goes in first. |
 The rounded end.. |
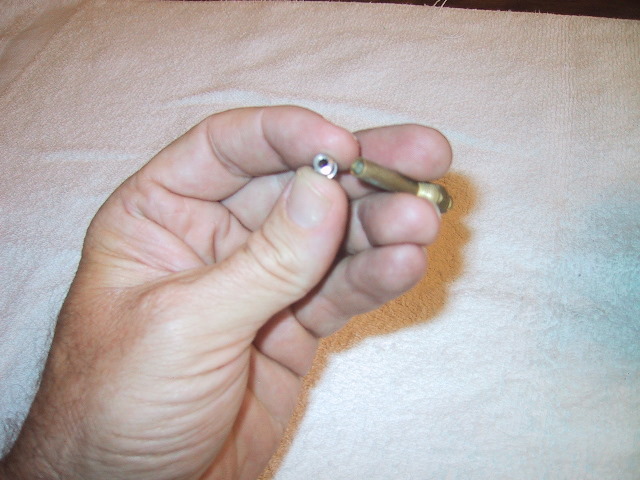 ...goes against the air tube you previously removed. |
 Way down inside here... |
 ...is the idle jet. It takes a long thin flat blade screwdriver to get it out. It like the rest of the jets is soft brass. You will be removing it blind so take your time and don't bugger it up. |
 Clean all orifices of each jet regardless of whether you "think" they look clean or not. You should use Pin gages so you don't bugger the orifices but if you carefully select some soft wire you can do a decent job. |
 Upon reassembling, don't swap the idle and main jets...it can be done. I use a little silicon grease on the float bowl O-ring just because.
|
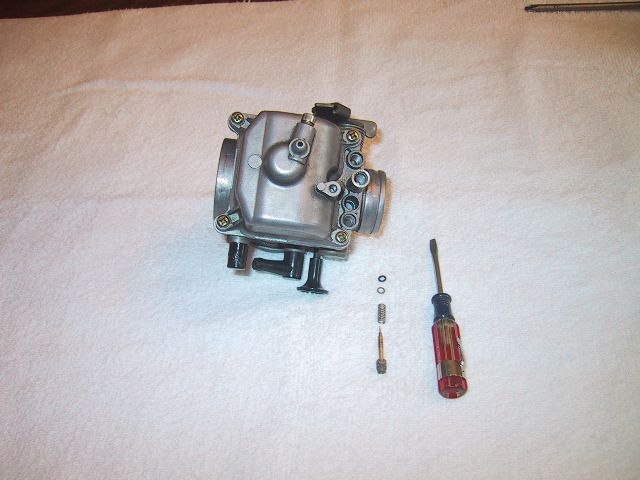
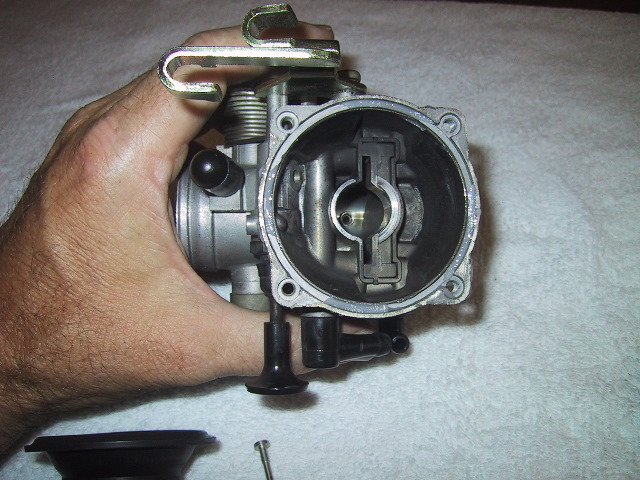
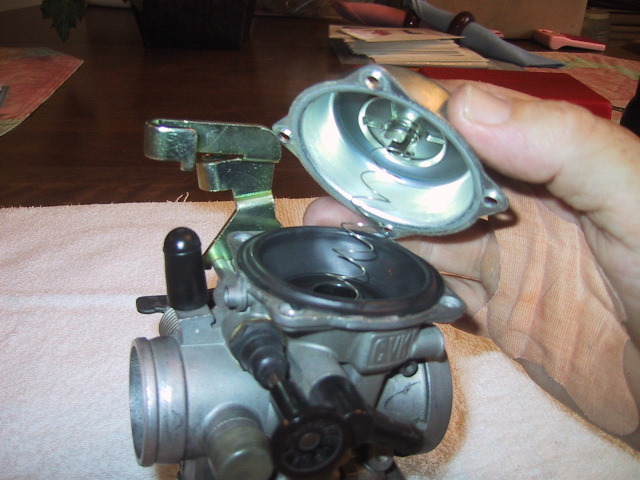
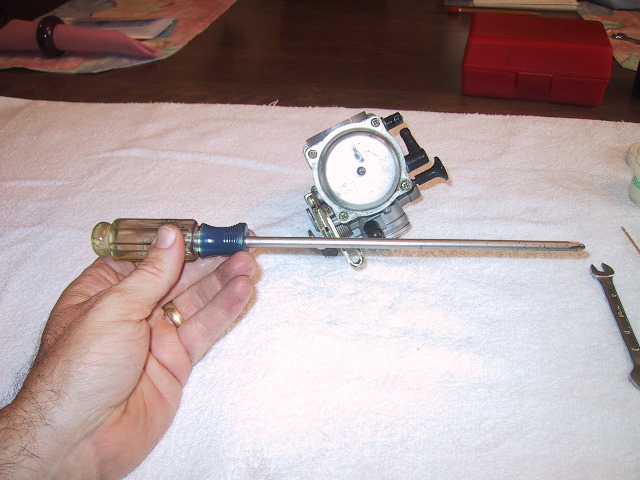 The top end of the carb only needs to come off for two reasons. First, suspected hole/tear in diaphragm. Second, if you do something like submerged your engine in water. If you pop the top, use a long shank driver to prevent stripping the screw heads. |
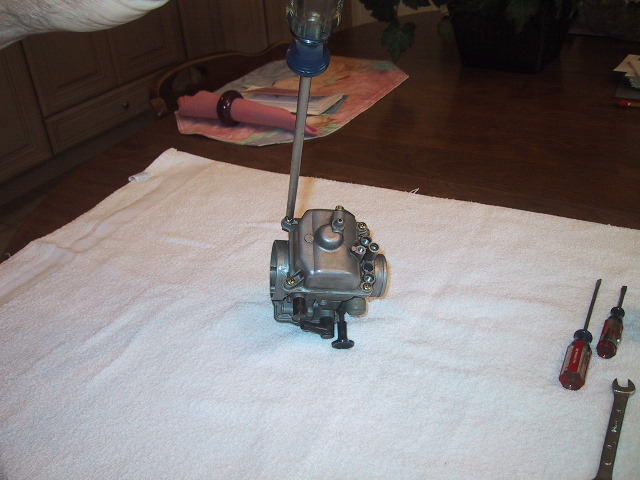
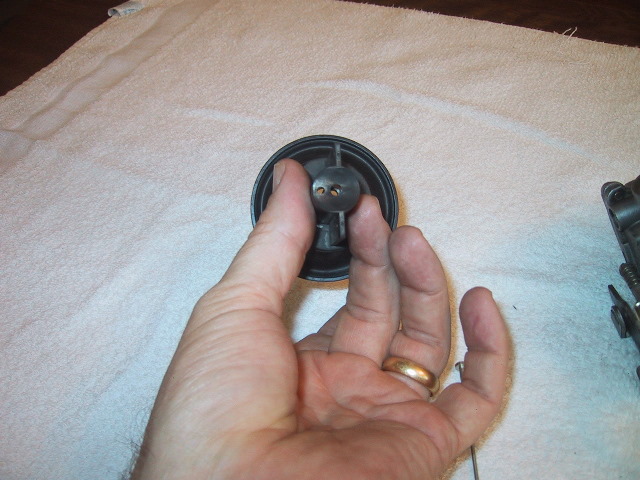
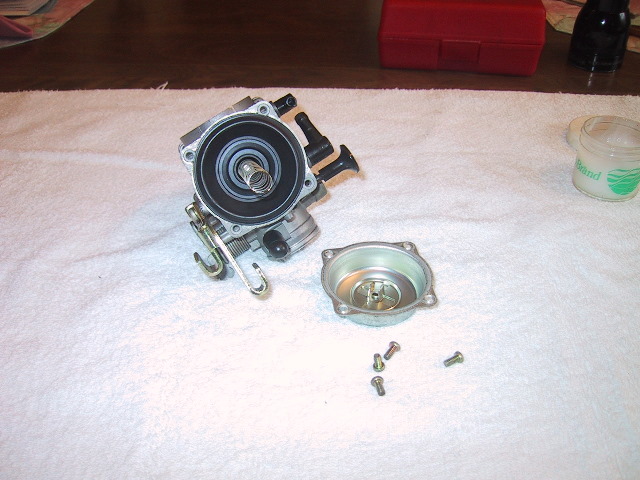 Top cap off... |
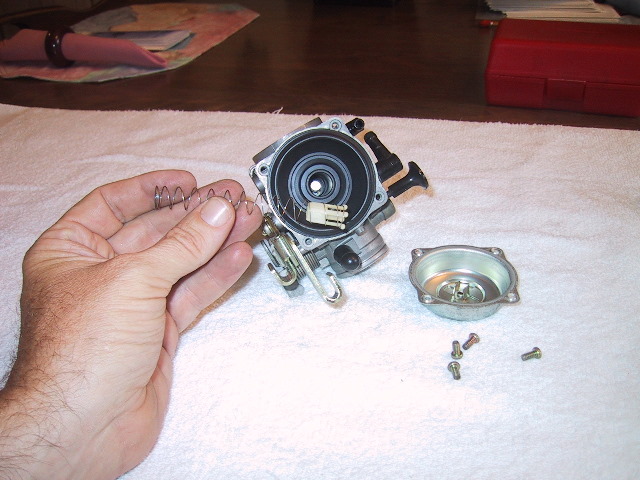 ...allows you to remove the spring and needle holder... |
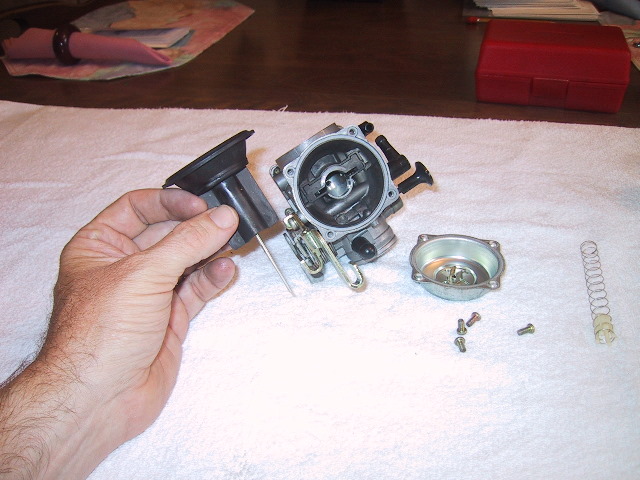 ...and the diaphragm/slide and needle. |
 Caution again...the needle is not secured and can fall out if slide is inverted. If the needle or diaphragm gets damaged you are hosed. |
 A little difficult to see in this picture...but the slide is off set and only goes into the carb body one way...don't force it...it should drop right in. |
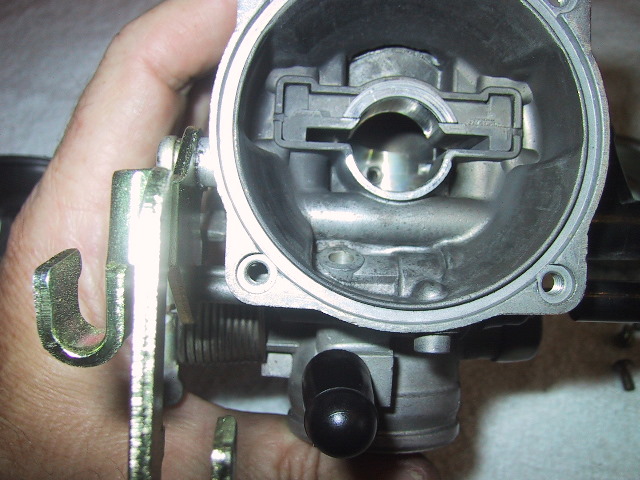 A view into the carb body...the slide off set is rather slight and might be overlooked. |
 Keeping the diaphragm from popping out of the groove can be a challenge...especially if doing this on the bike. A little silicone grease in the groove helps hold the diaphragm down. |
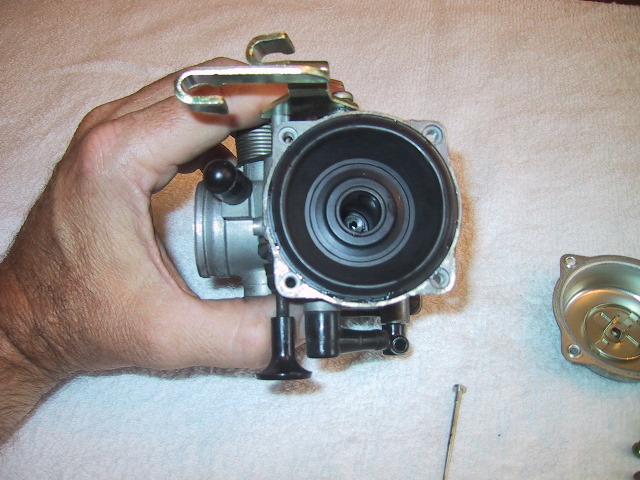 Nine times out of 10 the diaphragm should go in with no trouble. Much easier off the engine. |
 Place the slide needle into position... |
 ...and drop it home into the needle jet. |
 Drop the needle holder and spring on top of the needle. |
 Place the cap on being sure to get the spring over the keepers under the cap. Put the screws back in and you are finished.
|
 Here's a view with the needle removed showing the needle jet in the mouth of the carb. |
 Opening the butterfly valve with the thumb plate. |
 Choke pulled on opening the enrichener orifice top right, inside carb. |
 Choke closed. |
 Vacuum port cap. |
 Cap removed exposing port. This is where a carb sync'ing device would be hooked up. |
 Idle adjustment screw and thumb plate. |
 On the throttle cable bracket the portion from this seam up can be cut off as it is not used. |
|
|