|
|
|
|
Gear Box Removal & Installation (Engine out of frame)
Note: The gear box can be removed and installed with the engine in the frame easily. Remove the rear wheel, final drive, rubber coupler, speedometer cable drive, neutral switch wire, starter and battery; then proceed as follows.
Tools Needed: 12 & 13 mm wrenches, 12 mm socket, 8" extension and ratchet, oil catch basin.
(A) Gear Box Removal
 Drain the gear box oil by removing the drain plug. |
 Here is the input for the speedometer cable drive. If the gear box is in the frame, you will need a 10 mm wrench to loosen the bolt holding the cable. Back the bolt out until you can pull the speedometer paddle drive free. |
 If the gear box is on in the frame you will also need to remove the neutral switch wire with a 13 mm wrench and slotted screw driver to keep the adjustment screw from moving. |
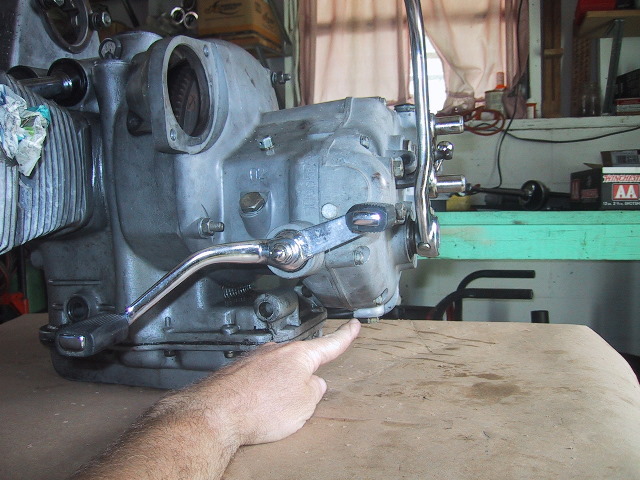
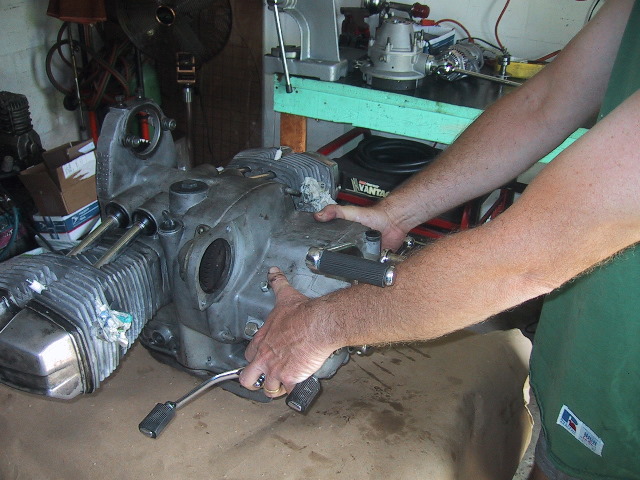
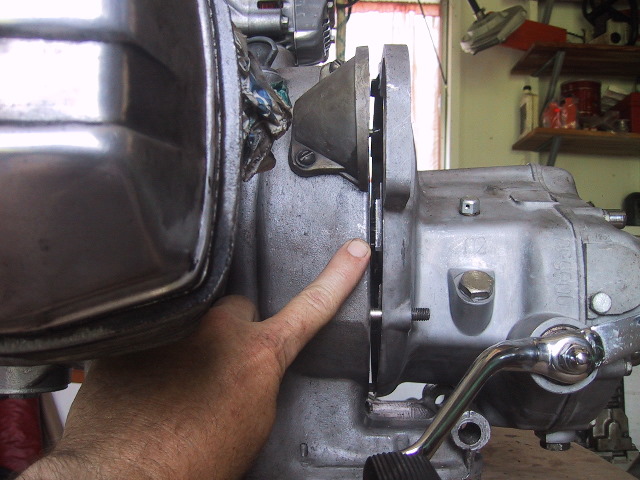
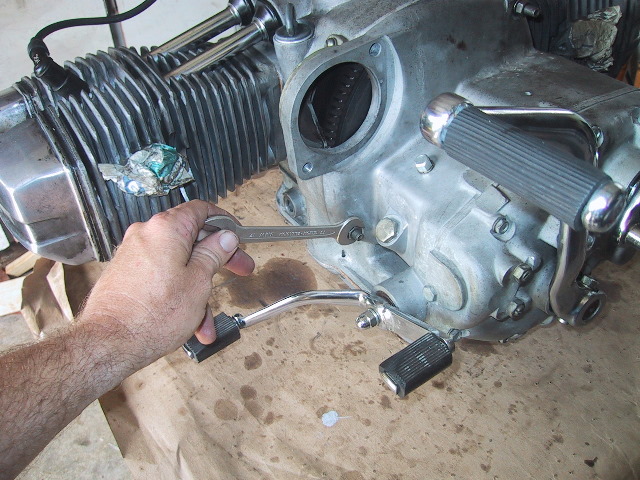
 Use the 13 mm wrench to remove two of the three bolts holding the gear box to the engine. The first is just under the starter...
|
 ...the second is the 13 mm nut holding the right mount of the air cleaner housing and forward clutch cable adjustment screw bracket. |
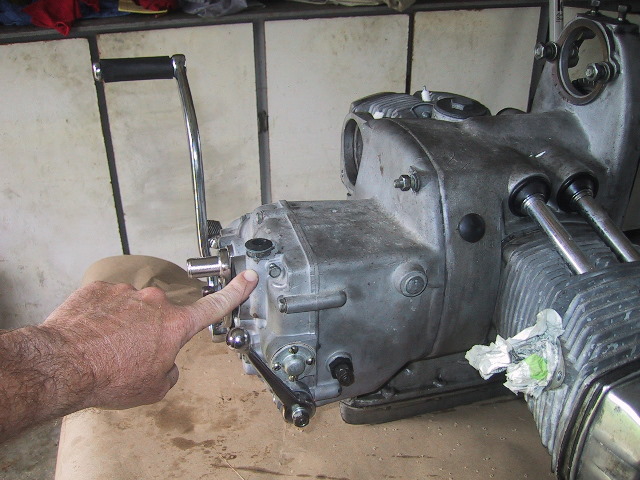
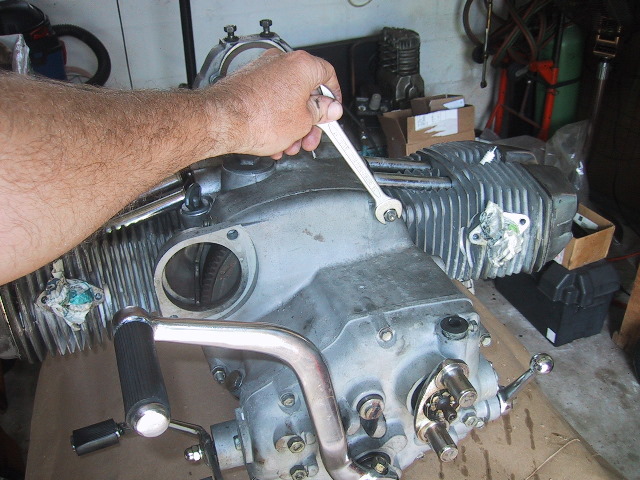
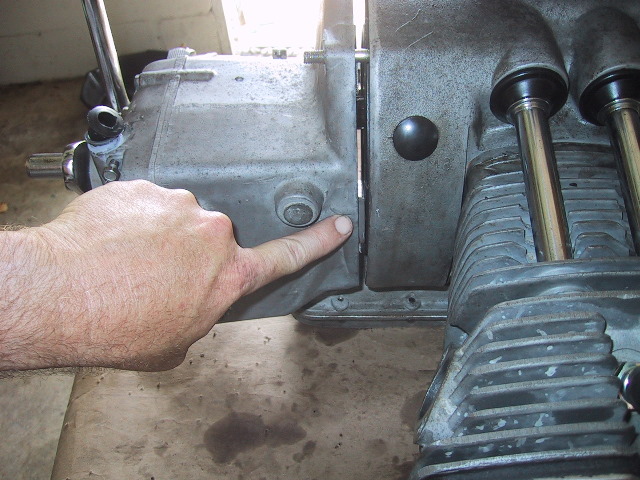
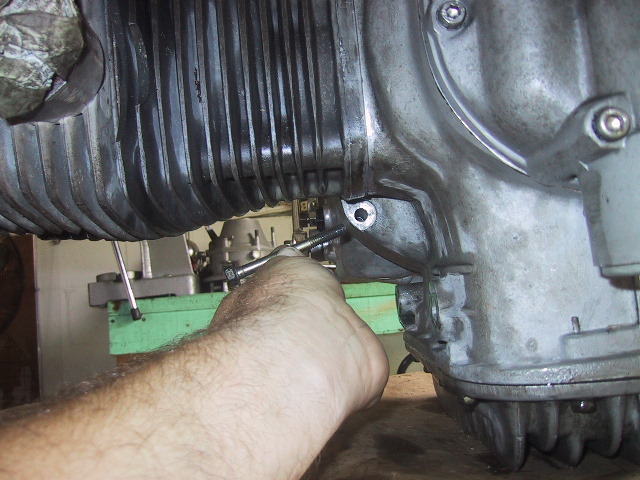
 The last fastener holding the gear box to the engine is this 12 mm bolt under the right hand cylinder. It is easy to miss. |
 A 12 mm wrench can be used, but a 12 mm socket, long extension and ratchet make short work or removing this bolt. |
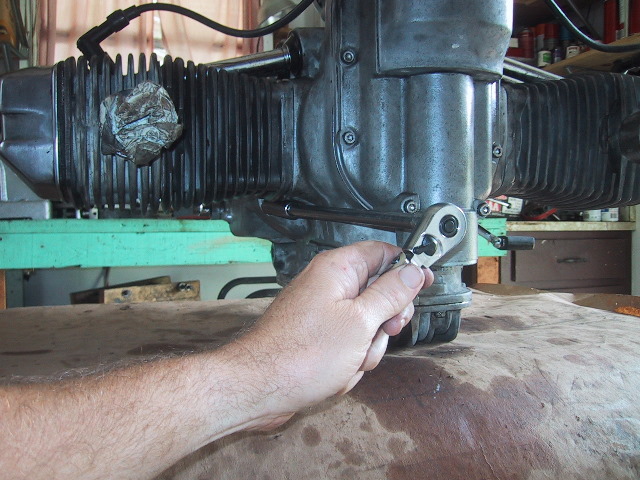
 If you look closely you can see the hole where the bolt was removed just below the base of the cylinder. |
 12 mm bolt...it's a long one! |
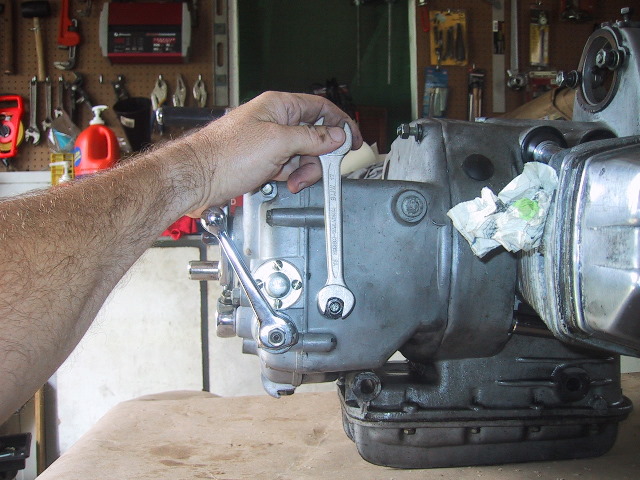
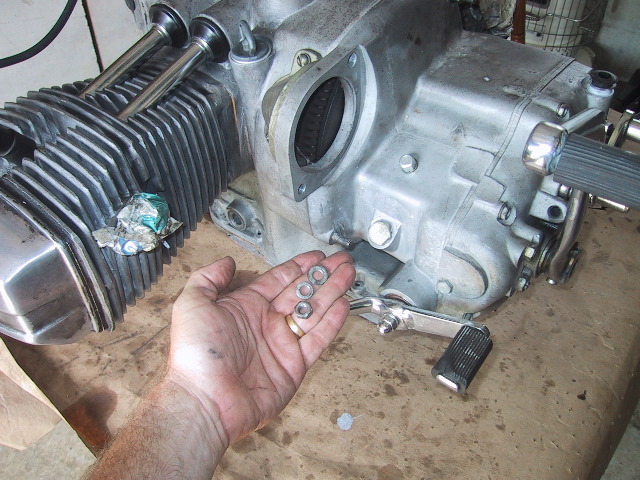
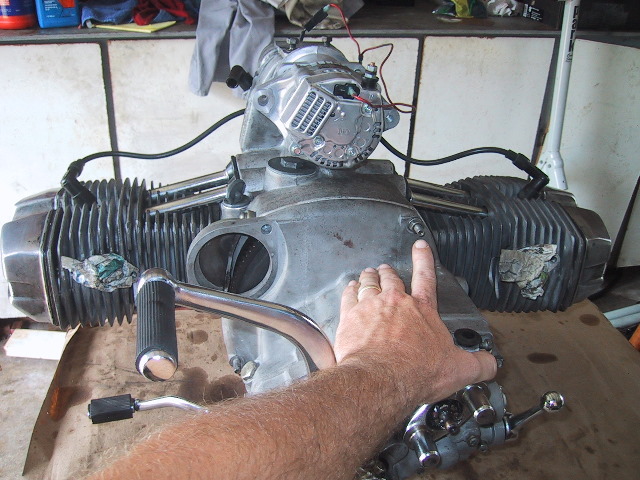
 Place all the fasteners in a labeled parts box so they don't get lost. The gear box is ready for removal. |
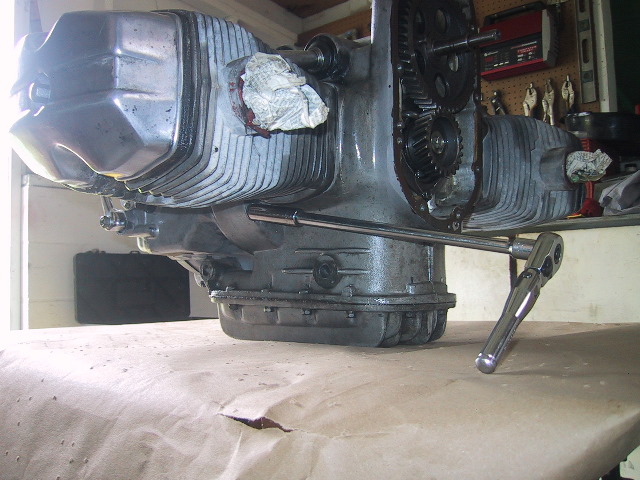
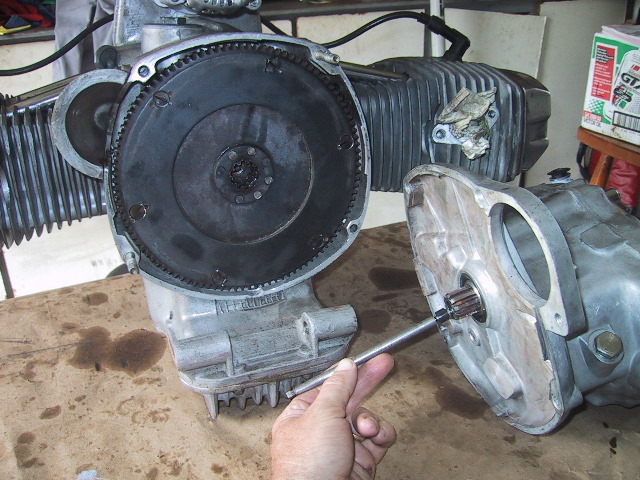
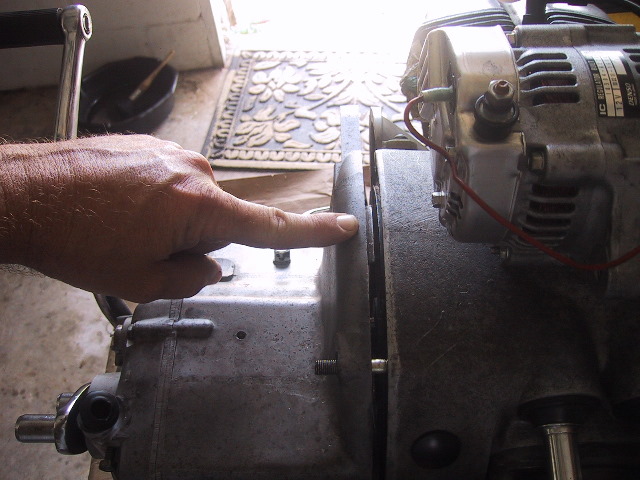
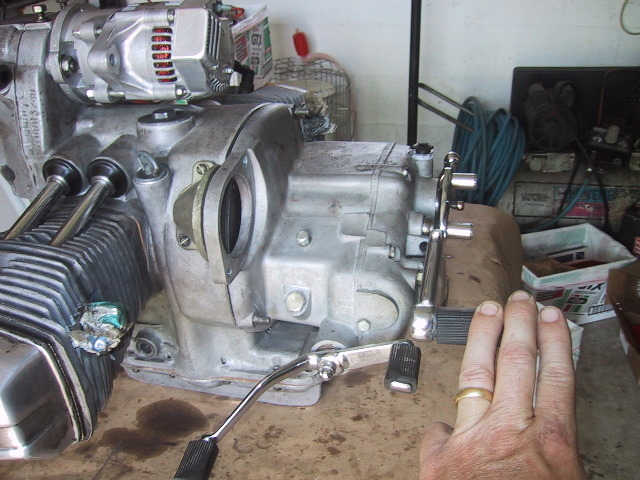
 Whether on the bike or on the bench; grasp both sides of the gear box and give a tug aft... |
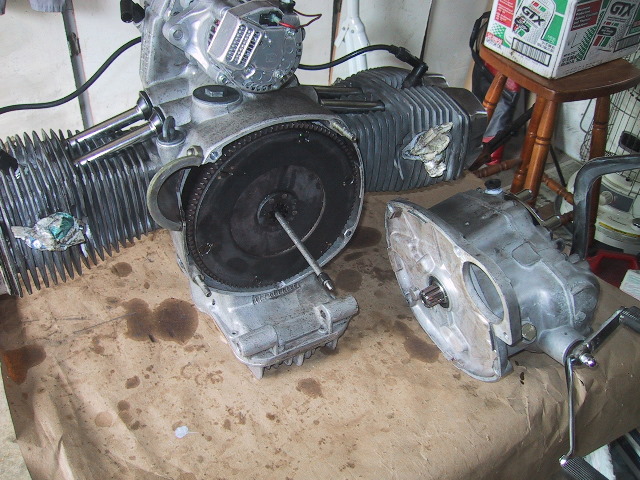
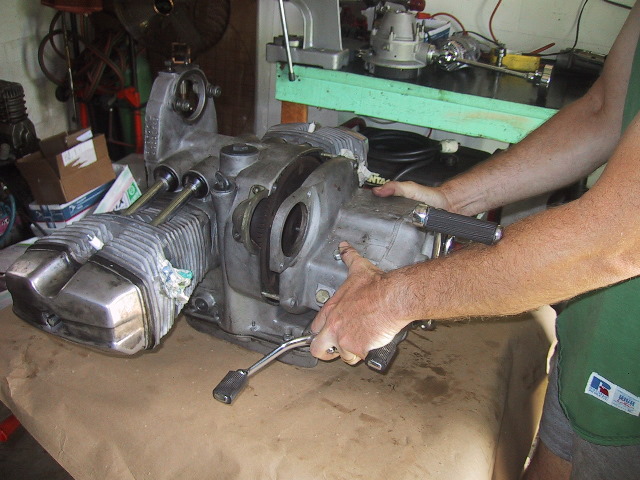 ...the gear box will slide right off. All that is holding it at this point are the clutch shaft splines and clutch release rod. |
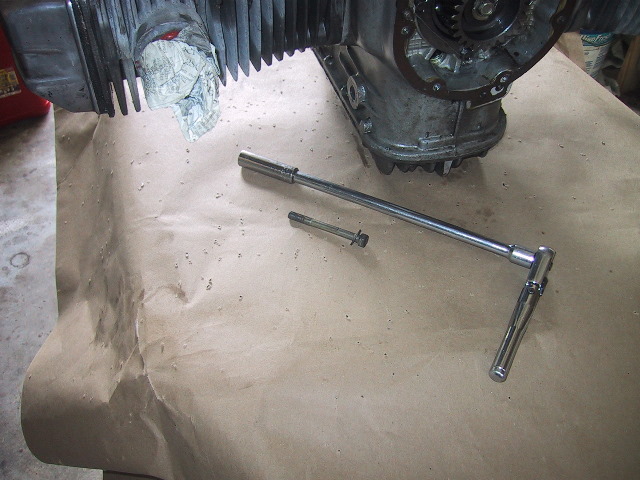
 Here you can see the splined end of the clutch shaft with the clutch release rod poking out through the middle of the clutch shaft. Be careful as the clutch release rod can fall free of the clutch shaft. |
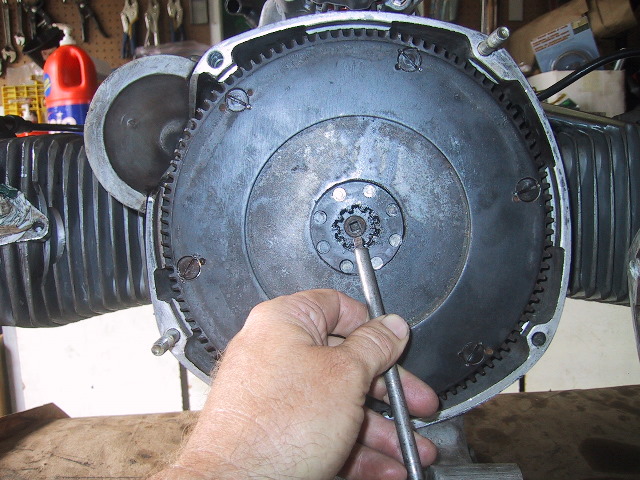
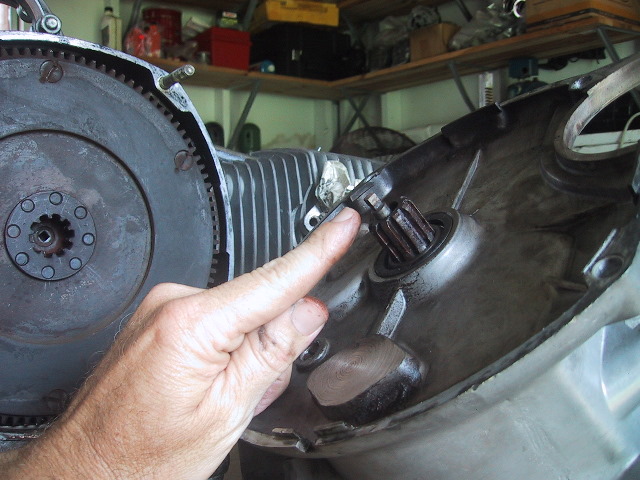 If the tip of the clutch release rod is mushroomed or the clutch shaft splines are damaged, removal of the gear box can be difficult especially if the engine is in the frame. Just pry the two apart if they do not separate easily. Above is the square tip of the clutch release rod... |
 ...which must go into the square hole of the clutch pressure plate...this is the fun part of reassembly if you attempt gear box removal on the bike! |
(B) Gear Box Installation
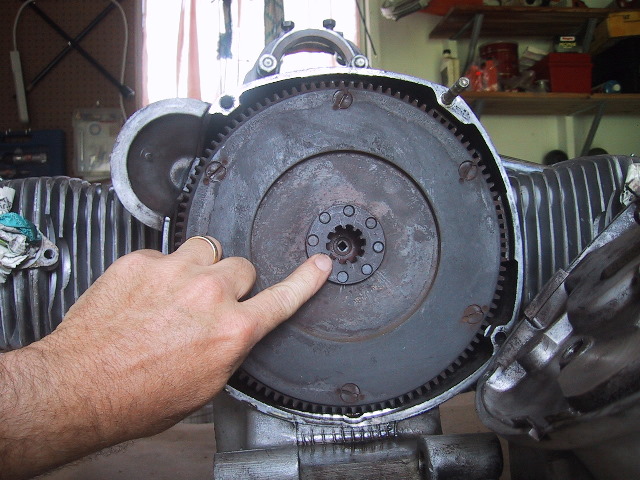
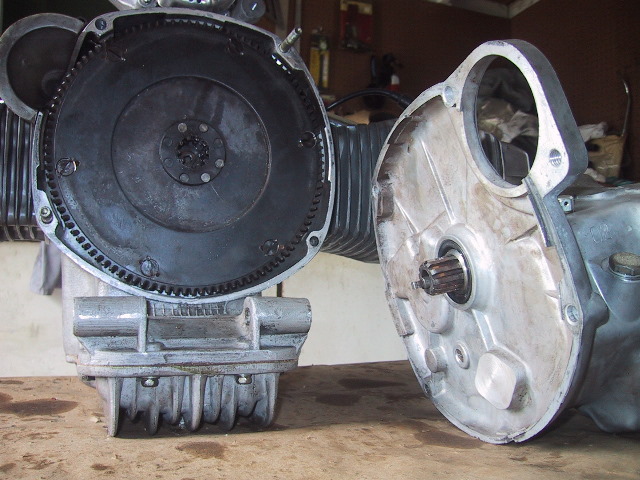 On the left is the flywheel/clutch assembly and the right the gear box. The clutch shaft splines and square tip of the clutch release rod are visible in the center of the gear box. |
 If the engine is out of the frame, mounting the gear box is easy. Just remove the clutch release rod... |
 ...and slide the square tip into the square hole of the clutch pressure plate.... |
 ...like so. Now, just slide the gear box clutch shaft over the clutch release rod and line up the 2 studs of the engine block (located at 2 o'clock and 7 o'clock) with the mounting holes in the gear box case. |
 There are three alignment tabs on the gear box case, one on the left... |
 ...one on the top... |
 ...and one on the right side of the gear box. Sometimes these tabs will not allow the engine housing and gear box housing to fit flush. Not to worry as when you tighten the mounting nuts and bolt, all will come together. |
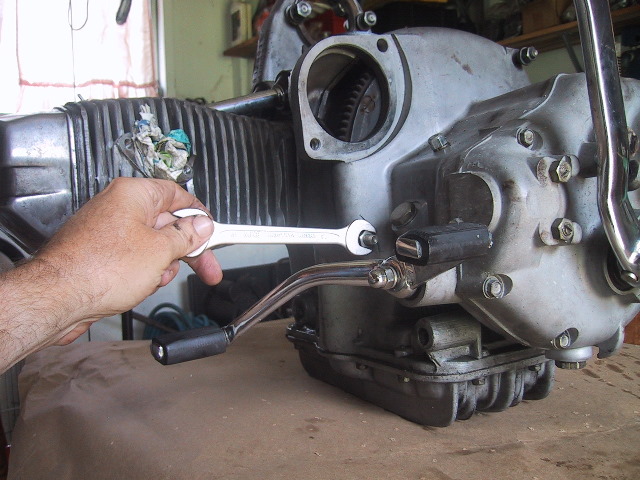
 Gather the 13mm nut, lock washer and washer for the left side stud... |
 Snug it down with a 13mm wrench. |
 The long 12 mm bolt goes back in under the right cylinder. |
 Use the ratchet with long extension and 12 mm socket... |
 ...to snug this bolt down.
|
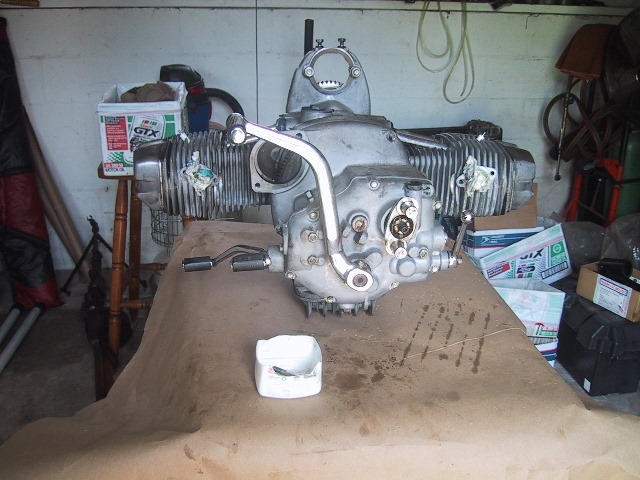
 Last is the other stud at 2 o'clock. A lock washer and 13mm nut go on here. Just put it on finger tight as this is where the air cleaner mounting bracket goes on later after the engine is installed in the frame. |
 All that is left is to install the starter (Chapter 8.5) and the engine is complete. |
 If you are mounting the gear box while the engine is still in the frame, here are a couple of tricks for inserting the clutch release rod into the pressure plate. Use a length of tubing over the aft end of the release rod.... |
 ...and insert it through the aft end of the clutch shaft. You will of course need to remove the clutch slider, thrust bearing plate and thrust bushing as shown in Chapter 6.3. Spin the clutch release rod while pushing in slightly until you feel the square tip of the rod fall into the pressure plate slot. Then use a long thin screw driver to hold the rod while pulling off the tubing. The tubing must not fit too tight on the rod or you will have a difficult time. |
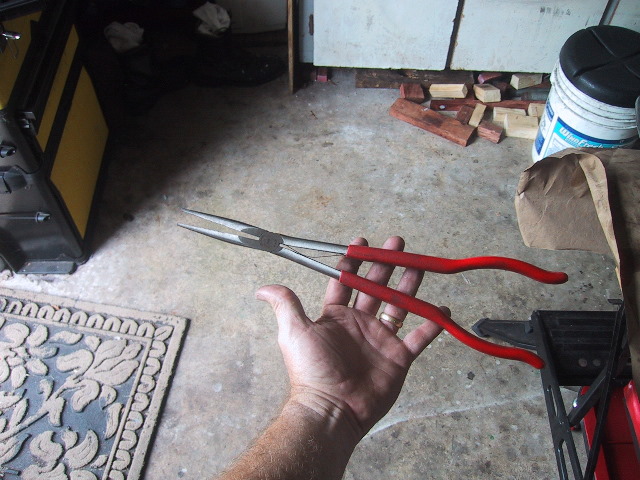 Another method is to use a pair of very long straight tipped needle nose pliers... |
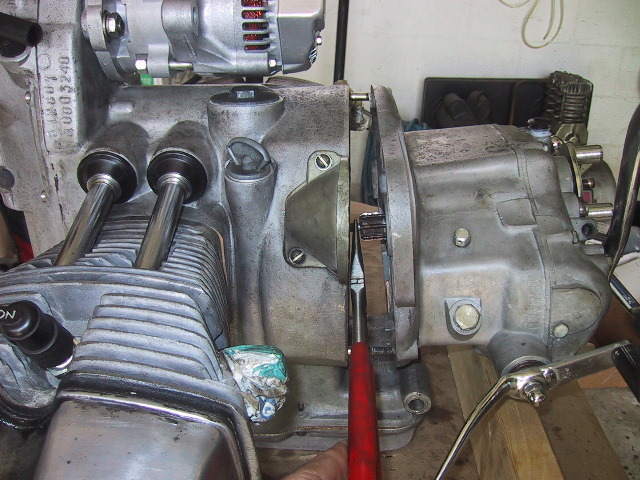 ...leave a split in between the engine and gear box wide enough to get the pliers through. Grasp the clutch release rod and feed it forward while slowly turning it until you feel it go into the square hole of the pressure plate. Withdrawal the pliers and finish sliding the gear box up to the engine case.
|
|
|