|
|
|
|
Air Filter Service
*Note: This is for post 2001 year model filter housings.
Tools Needed: Two 10mm wrenches, Medium blade screwdriver, Long 8mm Allen wrench, 13mm wrench.
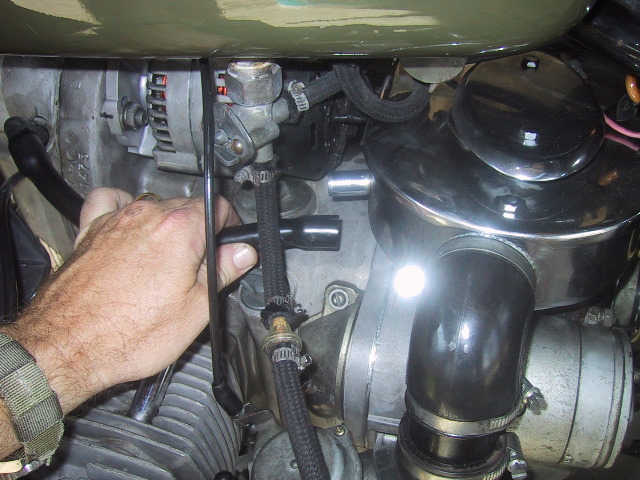
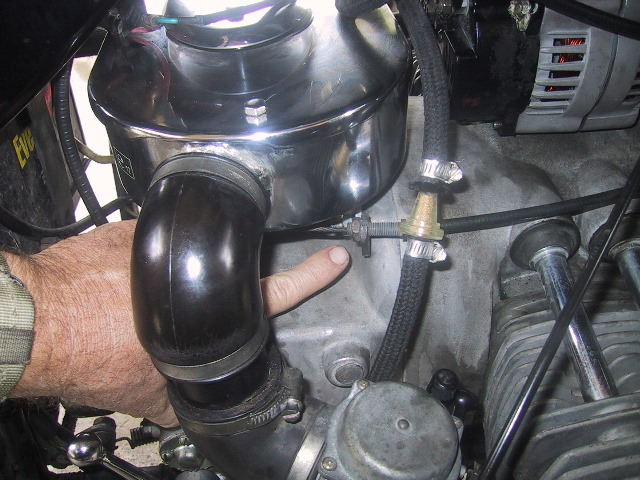
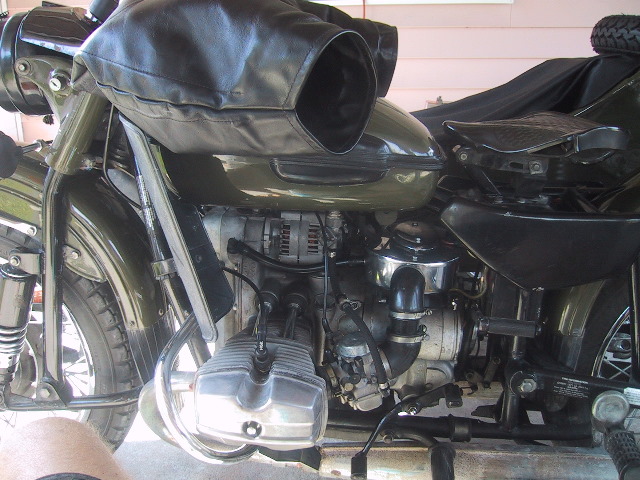 Left side view of bike showing air filter housing between rear of gas tank and above electric starter motor. |
 It's a good idea to switch of the master battery switch or disconnect the battery since you are working near the battery terminal and alternator connections. |
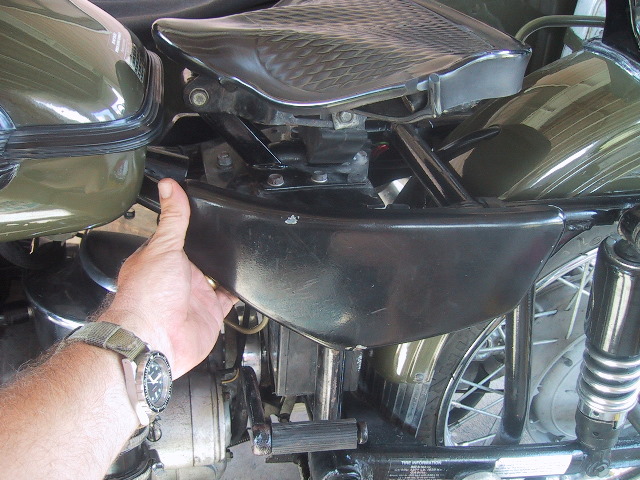 Remove the side cover (if applicable) for better access to filter housing. |
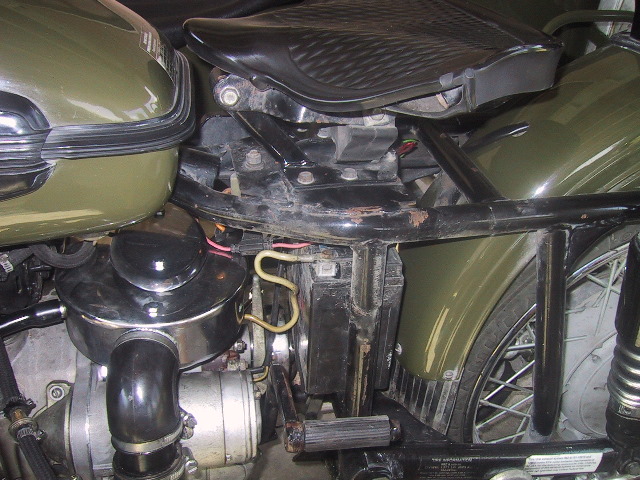 A nice wide open view with the cover removed. |
 Use a screwdriver to pop off... |
 ...the breather tube from the air filter housing. |
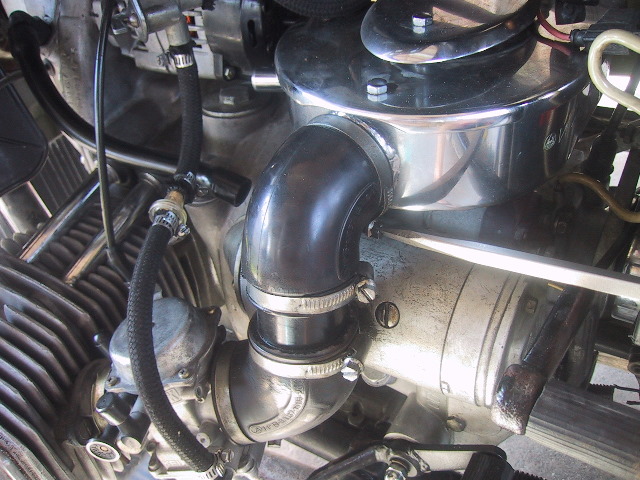 Use a screwdriver to loosen the upper... |
 ...and lower branch tubing clamps on both the left and right side of filter housing. |
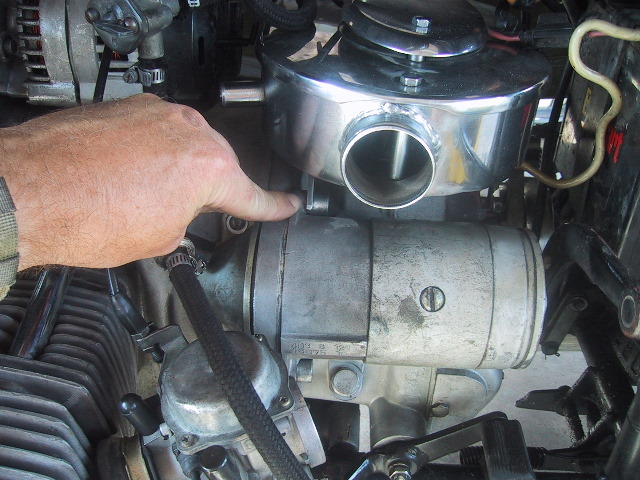
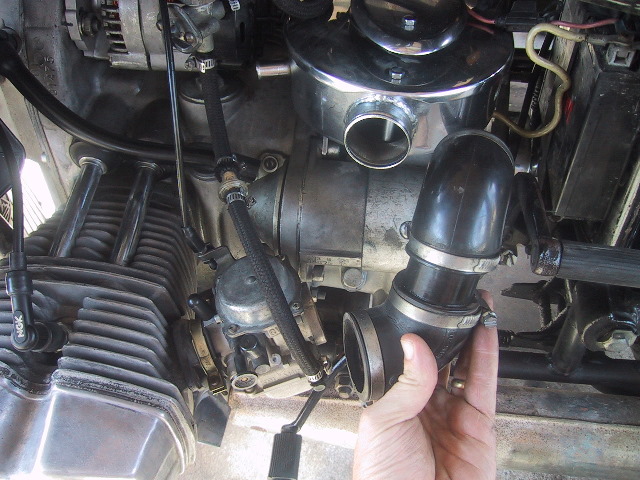 Remove the branch tube assemblies; clean any oil/dirt build up from the inside with a rag and set the branch tubes aside. |
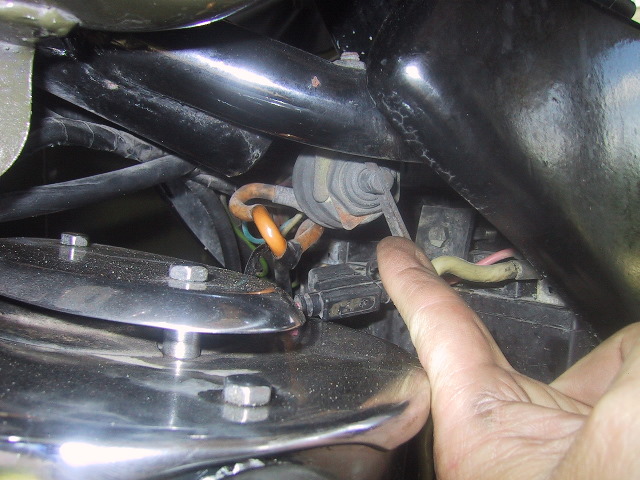
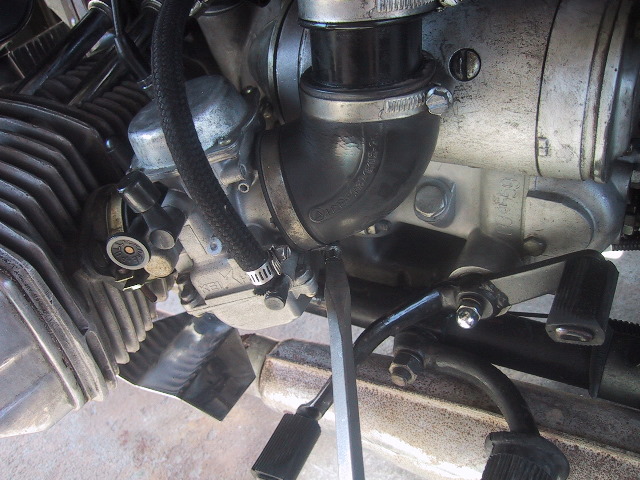
 Use the 13mm wrench to remove the nut/washer (bright nut behind clutch cable screw)on the bottom right side of filter housing. This nut also holds the bracket for the forward clutch adjust screw. Do not remove the clutch adjust nut or screw! |
 Next, remove the upper retaining bolt for the electric starter. |
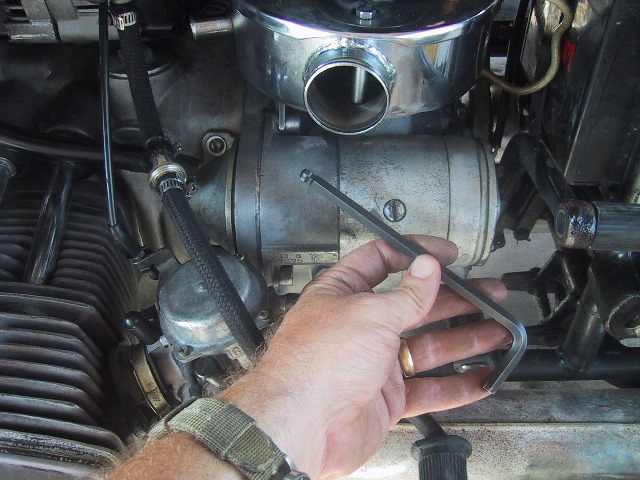 Use a long 8mm Allen wrench for this. I like the type with the off-angle ball on the end as it is easier to position into place. |
 Move the kick starter lever down and out of the way. Use a bungee cord or your foot to hold it down. |
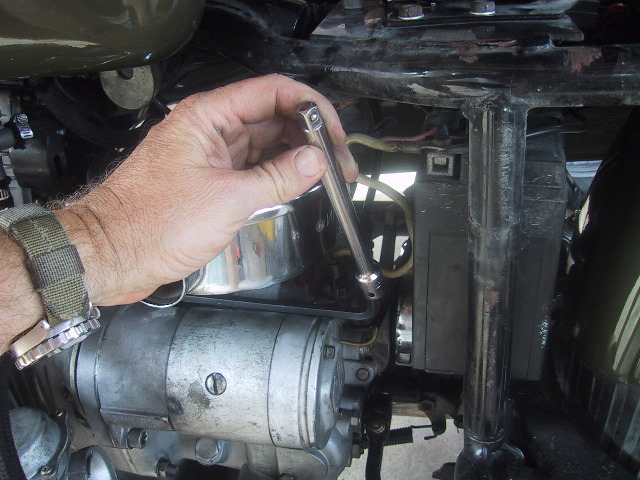 You can use a 3/8th's ratchet extension as a cheater bar to break the starter bolt loose. |
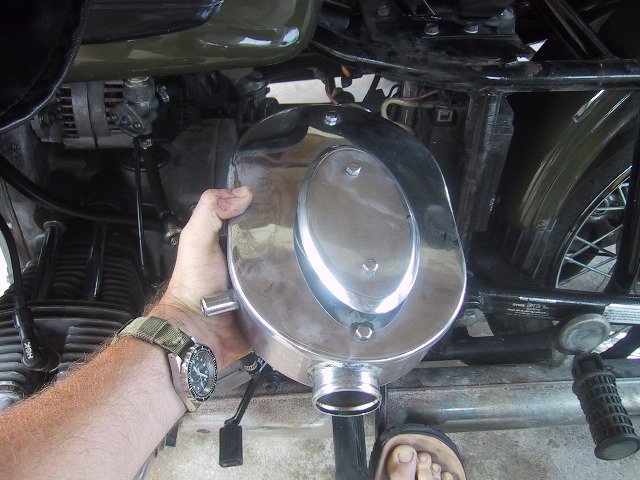 The filter housing can now be eased out the left side of the motorcycle frame. |
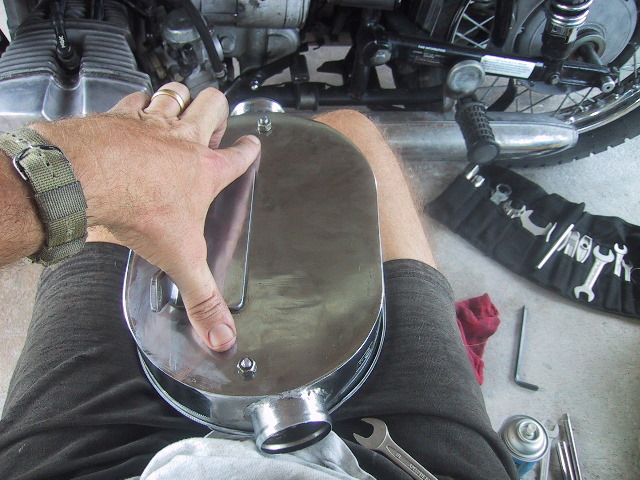 Set the housing upside down and use a 10mm wrench to loosen the two nuts on the bottom of the housing. You may need another 10mm wrench to hold the bolt head on the top cover. |
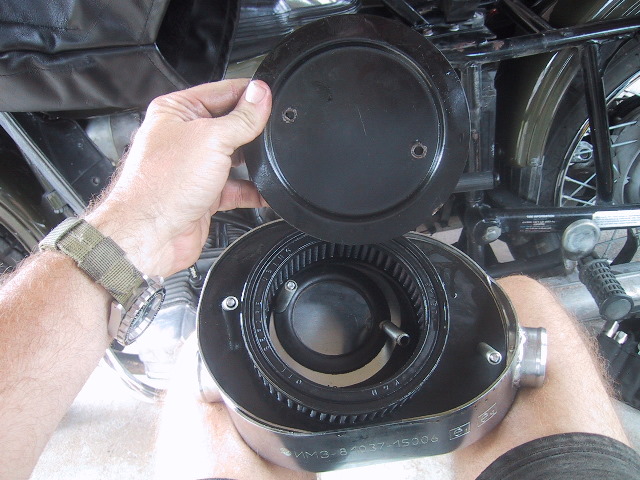
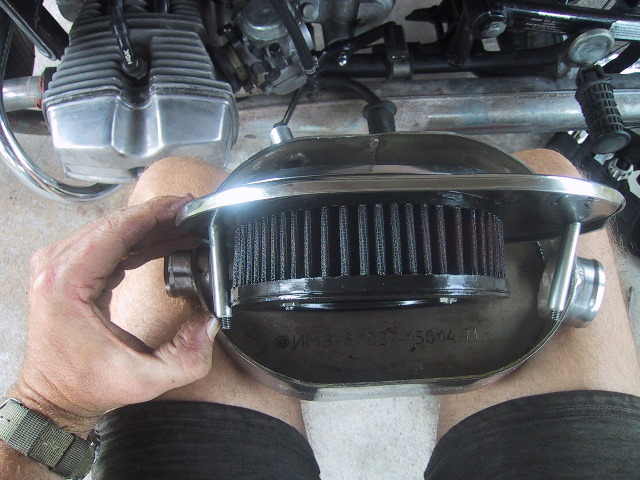 Flip the housing right side up and lift the cover off. There are two tube spacers that may fall free so be watchful. You can now see the air filter element. |
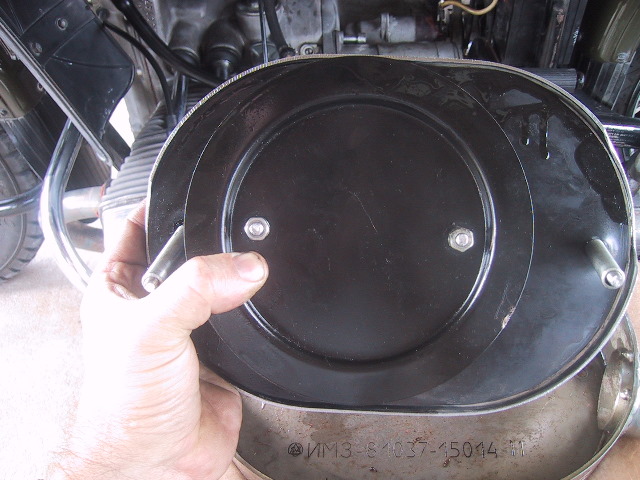 In the newer housings the filter element is held in place by a plate and two bolts that extend up through the top cover for the air intake. |
 Again, use a/the 10mm wrench/s to remove the two nuts securing the plate to the filter element. |
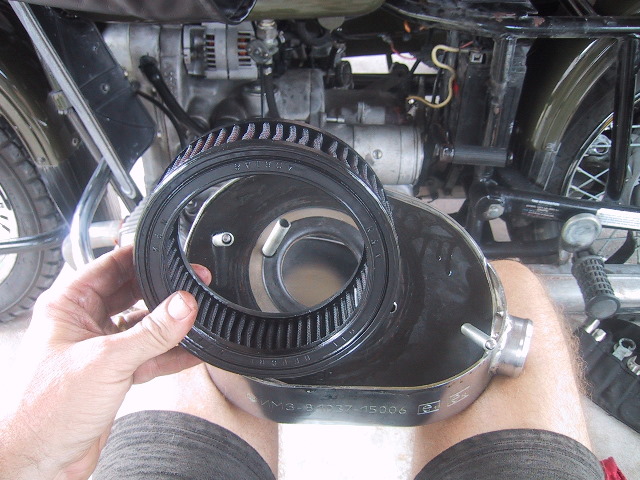 The element is now free to remove and clean/replace. I use a K&N #E-2470 element and use the K&N cleaning kit as per the instructions in the box. Wipe any excess oil/dirt from the housing before assembling. |
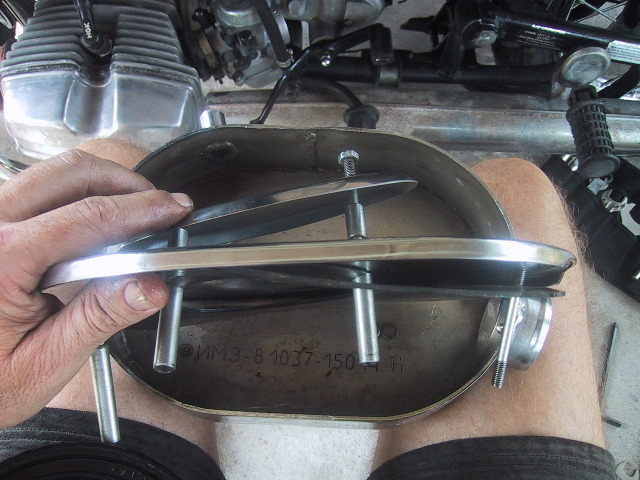 A half ass view of the top cover assembly. There are 4 tube spacers; the long one inside were the element sits and the two short ones under the cap to the air intake. |
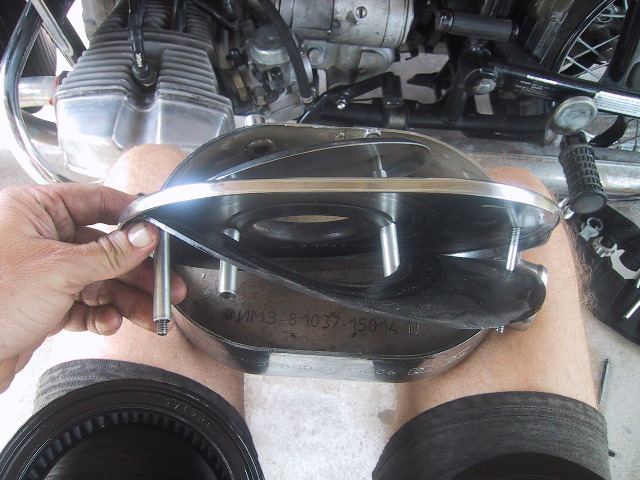 There is a rubber seal that goes under the lid. Make sure the hole in the seal aligns with the hole in the top cover. This is especially true of the early (pre-2003) housing as the seal can be put in "upside down" covering the intake hole in the top cover. The engine does not like this and will run like shit until you figure out your mistake. |
Make sure the filter
element is dry before reassembling the housing. Reinstall the air filter housing using the reverse sequence for removal. There were two types of "blue" OEM filter elements. The earlier had a gauze element and could be cleaned and re-used. The later used a paper element and could not be re-used. It would also choke the engine if it got wet while riding or washing the bike.
|
If you have not already, I highly recommend you purchase the K&N element mentioned above. It is made better, breathes easier, handles water ingestion much better and with little care will last many years. |
|
|