|
|
Starter Removal & Installations
Tools Needed: 13 mm wrench, 8 mm Allen wrench, 6" or longer ratchet extension and bungee cord.
Note: If removing the starter while on the bike, TURN OFF THE BATTERY MASTER SWITCH OR DISCONNECT THE BATTERY GROUND unless you want to practice welding a wrench to your motorcycle. You have been warned.
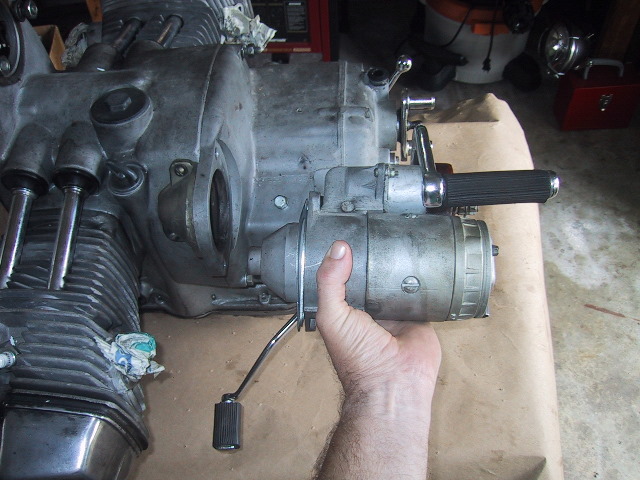
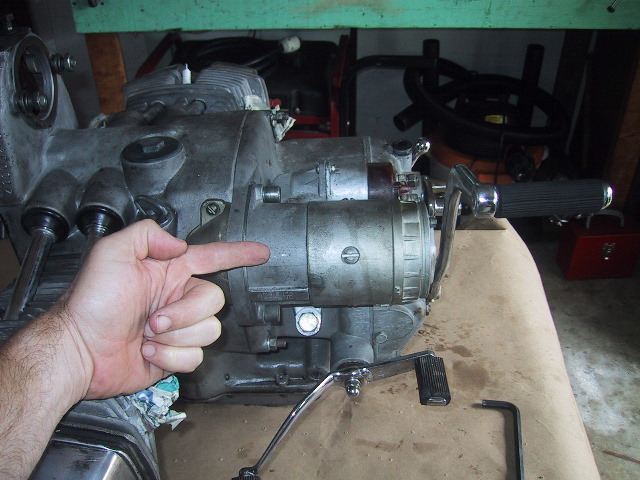 This is the starter motor. |
 If removing while on the motorcycle, remove the 13 mm nut holding the positive battery wire and two other wires. Put nut and washer back on post so they do not get lost. |
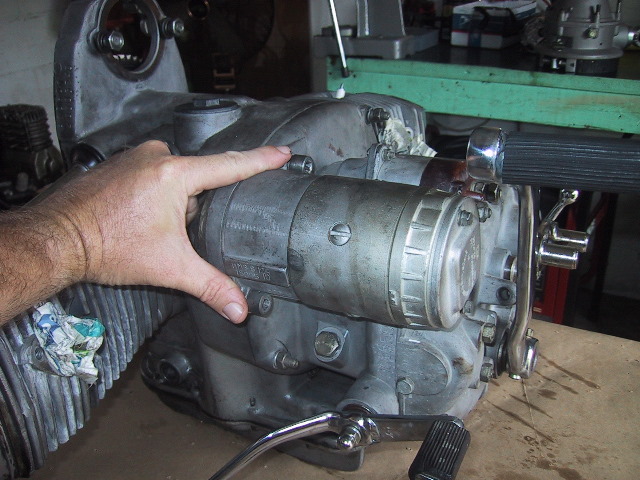 Next, you will need to remove these two 8 mm Allen head bolts. The upper bolt also double as the fastener for the air cleaner housing. |
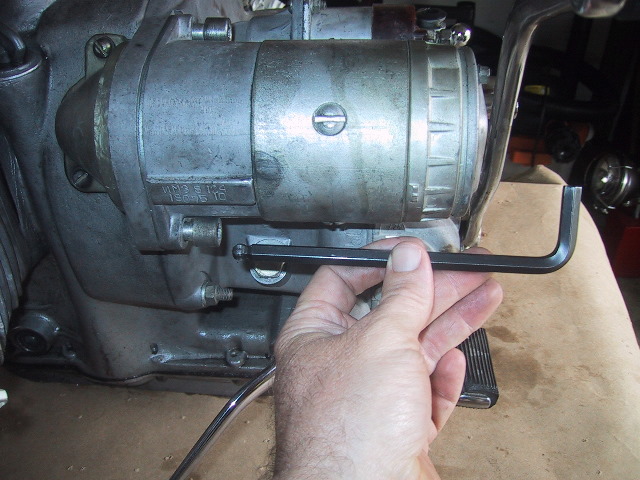 I prefer the long shank Allen wrenches with a ball tip at one end. These are especially handy if removing the starter while the engine is still in the frame. I use an 8" ratchet extension as a cheater bar on the short arm of the Allen wrench to break the bolts loose. |
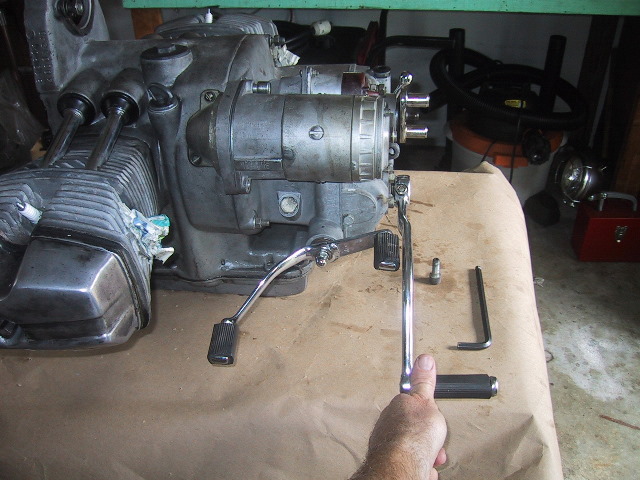 If removing the starter while the engine is still in the frame; use a bungee or your knee to hold the kick start lever down and out of the the way. |
 With the two 8 mm Allen's removed the starter will fall off...be careful. |
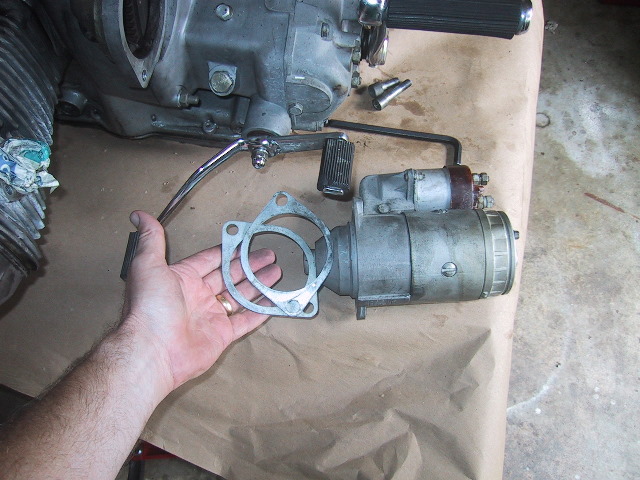 There will be one or two spacers on the front of the starter. No particular order, just put them back on or the starter will bind and the engine will not turn over. If you are upgrading a starter...be on the look out for this problem if spacers are not provided. |
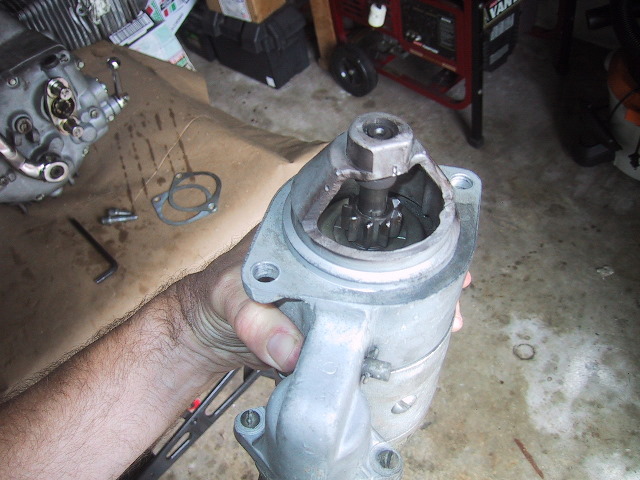 Visually inspect the teeth of the Bendix gear. Damaged teeth need to be addressed. |
 With the starter removed you can inspect the flywheel teeth and clutch screws. Use the kick start lever to slowly turn the flywheel around and check condition of teeth/screws. Installation is the reverse steps shown above. |
|
|